
JavaScript is a central pillar in web development, elevating user engagement and imbuing websites with dynamic capabilities. Among its intriguing components are Web APIs, which facilitate access to diverse browser functionalities. In this segment, we’ll explore these APIs, starting with Part 1: Web Forms API. Let’s commence our exploration of these fundamental tools for web development.
Let’s start our journey into understanding the fundamental tools of Web Forms API.
Web Forms API
The Web Forms API provides developers with tools to interact with and validate form elements. It plays a crucial role in handling form submissions and providing real-time validation feedback to users. Through its methods and properties, the Web Forms API offers extensive capabilities for creating interactive and user-friendly web forms.
Let’s delve into several essential functions and properties, accompanied by code examples:
1. checkValidity()
The checkValidity() function is a crucial method within the Web Forms API that allows developers to validate form inputs before submission. When called on a form element, this function triggers the browser’s built-in validation mechanism. It checks whether all input fields within the form meet their specified validation criteria.
If validation fails for any input fields, the checkValidity() function returns ‘false’, signalling that the form is invalid. Conversely, when all input fields pass validation, the function returns ‘true’, indicating the form is prepared for submission.
Here’s a simple example demonstrating the usage of checkValidity():
HTML Form:
<form id="myForm">
  <input type="text" id="username" required />
  <button id="submitBtn" type="submit">Submit</button>
  <div id="error-msg" style="color: red"></div>
</form>
JavaScript:
const submitBtn = document.getElementById("submitBtn");
const usernameInput = document.getElementById("username");
const errorMsg = document.getElementById("error-msg");
console.log("first");
// Display error message when input field loses focus
submitBtn.addEventListener("click", function (event) {
  console.log("clicked");
  if (!usernameInput.checkValidity()) {
    // Prevent form submission
    event.preventDefault();
    // Display custom error message
    errorMsg.textContent = "Please fill out the username field.";
    // Highlight input with red border
    usernameInput.style.border = "1px solid red";
  } else {
    // Clear error message and styling
    errorMsg.textContent = "";
    usernameInput.style.border = "";
  }
});

// Clear error message and styling when user interacts with the input field
usernameInput.addEventListener("input", function () {
  errorMsg.textContent = "";
  usernameInput.style.border = "";
});
This JavaScript code performs form validation for a username input field. It begins by selecting the submit button, username input field, and error message container. Upon clicking the submit button, it verifies the validity of the username input field. If invalid, it halts the form submission, shows a customized error message, and outlines the input field with a red border. Conversely, if the input is valid, it clears any existing error message and styling. Additionally, it listens for input events on the username input field to clear error messages and styling whenever the user interacts with it.
Output:
2. setCustomValidity()
The setCustomValidity() function within the Web Forms API permits developers to define personalized error messages for form components. This facilitates providing detailed feedback to users when their input fails to adhere to specified validation requirements.
Here’s an example demonstrating the usage of setCustomValidity():
HTML Form:
<form id="myForm">
  <input type="text" id="username" required />
  <button type="submit">Submit</button>
  <div id="error-msg" style="color: red"></div>
</form>
JavaScript:
const form = document.getElementById("myForm");
const usernameInput = document.getElementById("username");
const errorMsg = document.getElementById("error-msg");
// Event listener for form submission
form.addEventListener("submit", function (event) {
  if (!usernameInput.checkValidity()) {
    // Prevent form submission
    event.preventDefault();
    // Display custom error message
    usernameInput.setCustomValidity(
      "Please enter a valid username (at least 07 characters)."
    );
    // Highlight input with red border
    usernameInput.style.border = "1px solid red";
  }
});

// Event listener for input change
usernameInput.addEventListener("input", function () {
  // Clear error message and styling when user interacts with the input field
  errorMsg.textContent = "";
  usernameInput.style.border = "";
  usernameInput.setCustomValidity("");
});

// Event listener for input validation
usernameInput.addEventListener("invalid", function () {
  // Set custom error message
  usernameInput.setCustomValidity("Please enter a valid username.");
});


document.getElementById("myForm").addEventListener("submit", function (event) {
  if (!emailInput.validity.valid) {
    event.preventDefault(); // Prevent form submission if email is invalid
  }
});
This JavaScript code ensures that user input in a form’s username field is validated properly. When the form is submitted, it checks if the username input is valid. If not, it prevents submission, displays an error message, and highlights the field. It also listens for input changes to clear any errors and sets a custom error message if the input is invalid. This approach provides clear feedback to users, guiding them to input valid information.
Output:
3. validity
The validity attribute in JavaScript offers insights into whether a form element’s value aligns with its designated validation rules. While it doesn’t pinpoint specific input errors, it comprises Boolean flags signaling whether the element’s value satisfies criteria established by attributes such as required, type, or pattern.
Here’s an example demonstrating the usage of the validity property:
HTML Form:
<form>
  <input type="email" id="emailInput" required />
  <button type="submit">Submit</button>
  <div id="error-msg" style="color: red"></div>
</form>
JavaScript:
const emailInput = document.getElementById("emailInput");
const errorMsg = document.getElementById("error-msg");

emailInput.addEventListener("input", function () {
  if (emailInput.validity.valid) {
    // If the email input is valid, clear any existing error message
    errorMsg.textContent = "";
    // Reset border styling
    emailInput.style.border = "";
  } else {
    // If the email input is invalid, set a custom error message
    errorMsg.textContent = "Please enter a valid email address.";
    // Highlight input field with red border
    emailInput.style.border = "1px solid red";
  }
});

document.getElementById("myForm").addEventListener("submit", function (event) {
  if (!emailInput.validity.valid) {
    event.preventDefault(); // Prevent form submission if email is invalid
  }
});
This JavaScript code performs form validation for an email input field. It listens for user input events and checks the validity of the email input using the validity property. Any existing error messages are removed if the input meets the validation criteria and the input field’s styling is reset. However, a personalized error message is shown if the input is considered invalid, and the input field is visually marked with a red border. Additionally, form submission is prevented for invalid email inputs, ensuring only valid email addresses are allowed.
Output:

4. validationMessage
The validationMessage property within JavaScript supplies a user-friendly explanation detailing why a form field is marked as invalid. This functionality proves beneficial for presenting descriptive error messages to users when their input fails to meet specified criteria.
Here’s a simple example demonstrating the usage of validationMessage:
HTML Form:
<form id="myForm">
  <input type="email" id="emailInput" required />
  <button type="submit">Submit</button>
  <div id="error-msg" style="color: red"></div>
</form>
JavaScript:
const emailInput = document.getElementById("emailInput");
const errorMsg = document.getElementById("error-msg");

emailInput.addEventListener("input", function () {
  if (emailInput.validity.valid) {
    // If the input is valid, clear any existing error message
    errorMsg.textContent = "";
    emailInput.style.border = ""; // Reset border styling
  } else {
    // If the input is invalid, display the validation message
    errorMsg.textContent = emailInput.validationMessage;
    emailInput.style.border = "1px solid red"; // Highlight input field with red border
  }
});

document.getElementById("myForm").addEventListener("submit", function (event) {
  if (!emailInput.validity.valid) {
    event.preventDefault(); // Prevent form submission if email is invalid
  }
});
This JavaScript code performs form validation for an email input field in a straightforward manner. It listens for user input events on the email input field and checks if the input is valid using the validity property. Any prior error messages are removed in case of valid input, and the input field styling is reset. In the event of invalid input, users are presented with the browser’s default validation message, and the input field is visually highlighted with a red border. Additionally, submission of the form is halted for invalid email inputs, guaranteeing that only correctly formatted email addresses are accepted.
Output:
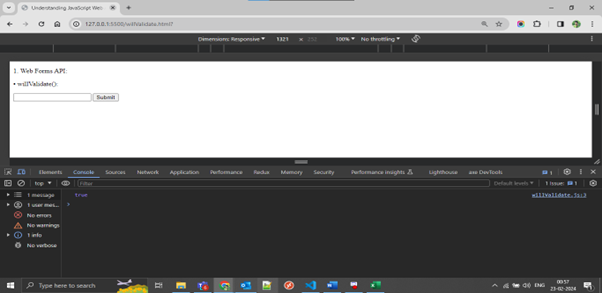
5. willValidate
The willValidate property in JavaScript serves as a Boolean indicator, signaling whether a form field will undergo validation upon form submission. This property proves handy in identifying which fields are required and will be subjected to validation.
Here’s a simple example demonstrating the usage of willValidate:
HTML Form:
<form id="myForm">
  <input type="text" id="username" readonly />
  <button type="submit">Submit</button>
</form>
JavaScript:
const usernameInput = document.getElementById("username");

console.log(usernameInput.willValidate); // Output: true
This JavaScript code snippet checks whether a form field, in this case, a username input field, will be validated when the form is submitted. It first selects the username input field using its ID. Then, it accesses the willValidate property of the input field, which returns a Boolean value indicating if the field will undergo validation. Since the field has the required attribute, it will be validated, so the willValidate property returns true. This straightforward approach provides developers with information about whether a field will be validated, allowing them to handle form validation logic effectively.
Output:
6. patternMismatch
In simple terms, patternMismatch is a property in the Web Forms API that indicates when the value entered a form field does not match a specified pattern. This pattern is usually defined using a regular expression in HTML5 form validation. For example, if you set a pattern for a field to only accept numeric input, but the user enters alphabets, the patternMismatch property will be set to ‘true’.
Here’s a simple example demonstrating the usage of patternMismatch:
HTML Form:
<form>
  <input
    type="text"
    pattern="[A-Za-z]+"
    title="Please enter only letters"
    id="textInput"
  />
  <button onclick="validateForm(event)">Submit</button>
</form>
JavaScript:
function validateForm(event) {
  event.preventDefault();
  let textInput = document.getElementById("textInput");

  if (textInput.validity.patternMismatch) {
    console.log("Input does not match the specified pattern.");
  } else {
    console.log("Input matches the specified pattern.");
  }
}
We define a function validateForm() triggered upon a button click in the JavaScript code. Inside, we retrieve the input element and utilize its validity property to check if there’s a patternMismatch. If the entered value doesn’t conform to the specified pattern (here, accepting only letters), it triggers the patternMismatch condition, prompting an appropriate message. JavaScript’s versatility is evident here, allowing seamless integration with HTML to enhance user input validation.
Output:

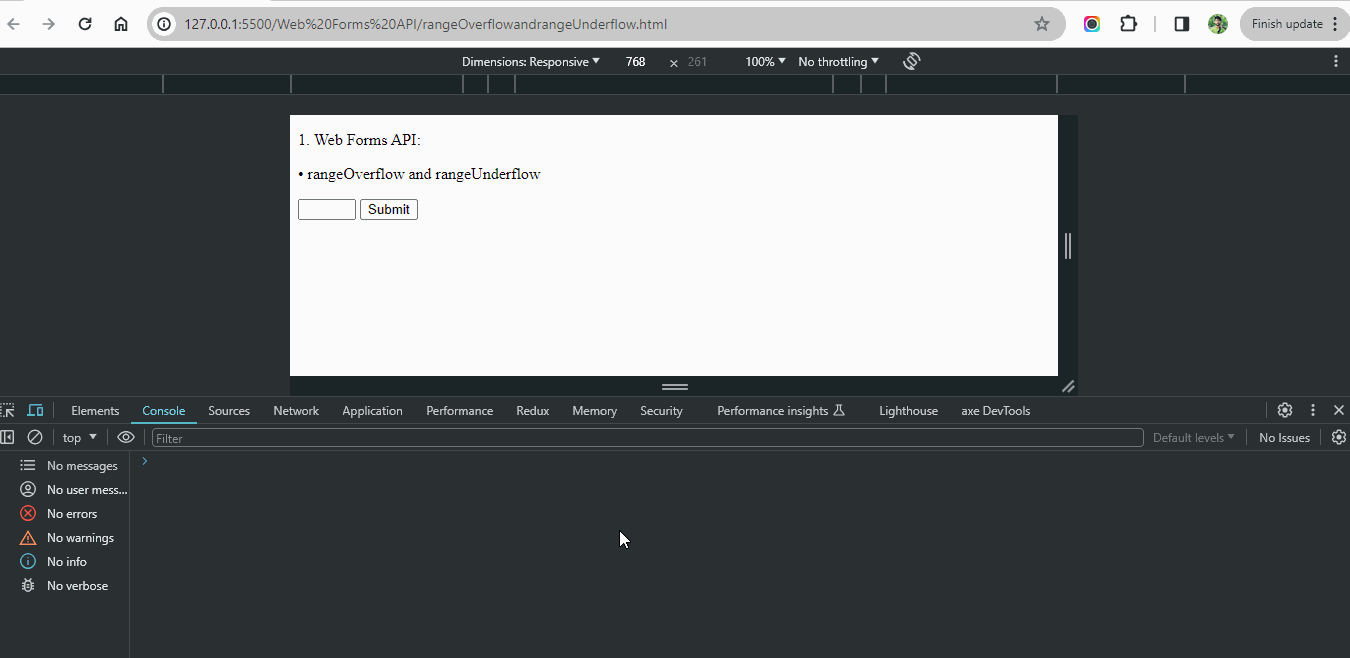
7. rangeOverflow and rangeUnderflow
Put plainly, rangeOverflow and rangeUnderflow in the Web Forms API signal when an input value surpasses or falls below predefined minimum or maximum boundaries. Consider a scenario where a field requires values within a specific range, like 1 to 100. If a user enters a value exceeding 100, rangeOverflow is activated, while entering a value below 1 triggers rangeUnderflow.
Here’s an example demonstrating the usage of rangeOverflow and rangeUnderflow:
HTML Form:
<form>
  <input type="number" min="10" max="100" id="numberInput" />
  <button onclick="validateForm(event)">Submit</button>
</form>
JavaScript:
function validateForm(event) {
  event.preventDefault();
  let numberInput = document.getElementById("numberInput");
  let value = parseInt(numberInput.value);

  if (numberInput.validity.rangeOverflow) {
    console.log("Value exceeds maximum limit.", value);
  } else if (numberInput.validity.rangeUnderflow) {
    console.log("Value falls short of minimum limit.", value);
  } else {
    console.log("Value is within the valid range.", value);
  }
}
In the JavaScript code, the function validateForm() is called upon button click. It retrieves the input element and checks its validity properties. If the entered value exceeds the maximum limit (defined by max attribute) triggering rangeOverflow or falls short of the minimum limit (defined by min attribute) triggering rangeUnderflow, corresponding messages are logged. This example demonstrates how JavaScript integrates with HTML forms to enforce input constraints, ensuring data validity in web applications.
Output:
- stepMismatch:
In simple terms, stepMismatch is a feature in the Web Forms API that identifies when the value entered a form field does not conform to the specified stepping constraints. This typically occurs when a field expects values in specific increments, such as entering multiples of 5 in a field with a step size of 5.
Here’s a simple example demonstrating the usage of stepMismatch:
HTML Form:
<form>
  <input type="number" step="5" id="numberInput" />
  <button onclick="validateForm(event)">Submit</button>
</form>
JavaScript:
function validateForm(event) {
  event.preventDefault();
  let numberInput = document.getElementById("numberInput");

  if (numberInput.validity.stepMismatch) {
    console.log("Value does not conform to the specified stepping.");
  } else {
    console.log("Value is within the specified stepping.");
  }
}
In the JavaScript code, the function validateForm() is triggered upon button click. It retrieves the input element and checks its validity properties. If the entered value does not conform to the specified stepping (defined by the step attribute), triggering stepMismatch, an appropriate message is logged. This example demonstrates how JavaScript works alongside HTML to enforce input constraints, ensuring data accuracy and consistency in web forms.
Output:

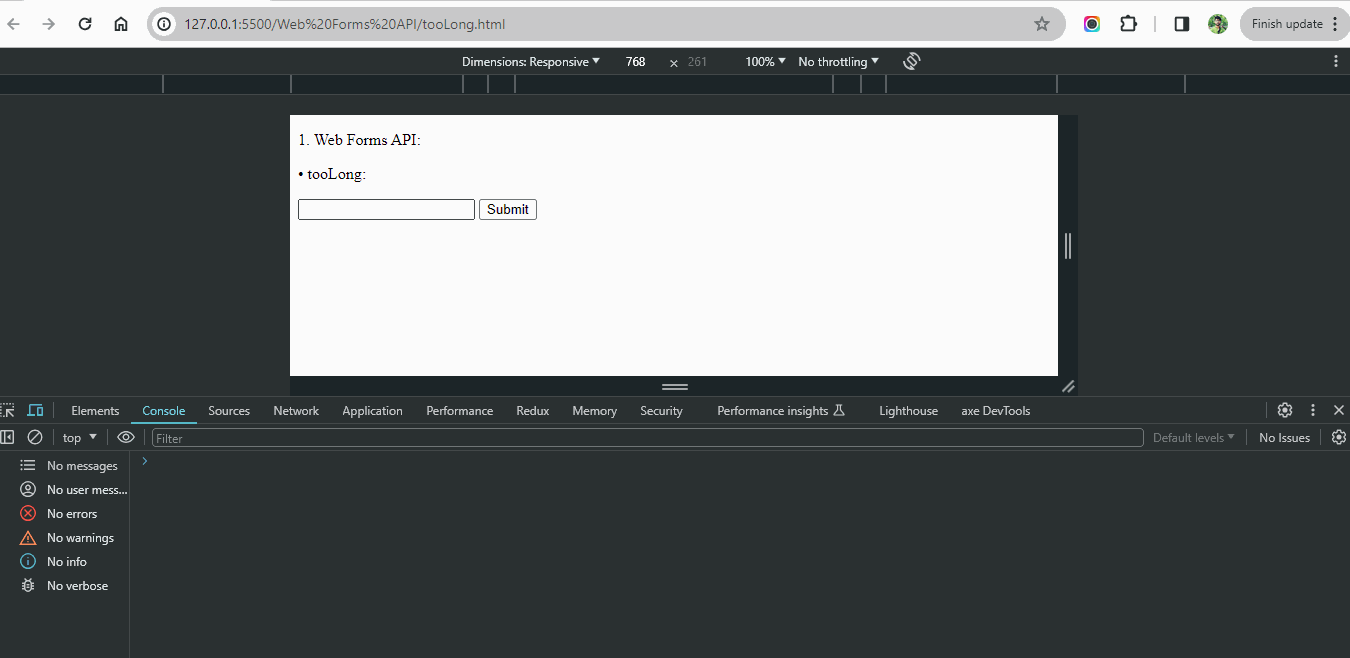
9. tooLong:
TooLong is a feature in the Web Forms API that indicates when the value entered in a form field exceeds the maximum length allowed. For example, if a field has a maximum character limit, exceeding this limit triggers the tooLong condition.
Here’s a simple example demonstrating the usage of tooLong:
HTML Form:
<form>
  <input type="text" maxlength="3" id="textInput" />
  <button onclick="validateForm(event)">Submit</button>
</form>
JavaScript:
function validateForm(event) {
  event.preventDefault();
  let textInput = document.getElementById("textInput");

  if (textInput.validity.tooLong) {
    console.log("Value exceeds the maximum allowed length.");
  } else {
    console.log("Value is within the allowed length.");
  }
}
The validateForm() function is executed in the JavaScript code when the button is clicked. It retrieves the input element and checks its validity properties. If the entered value exceeds the maximum length (defined by the maxlength attribute), triggering tooLong, an appropriate message is logged. This example demonstrates how JavaScript integrates with HTML to enforce input constraints, ensuring data validity in web forms.
Output:
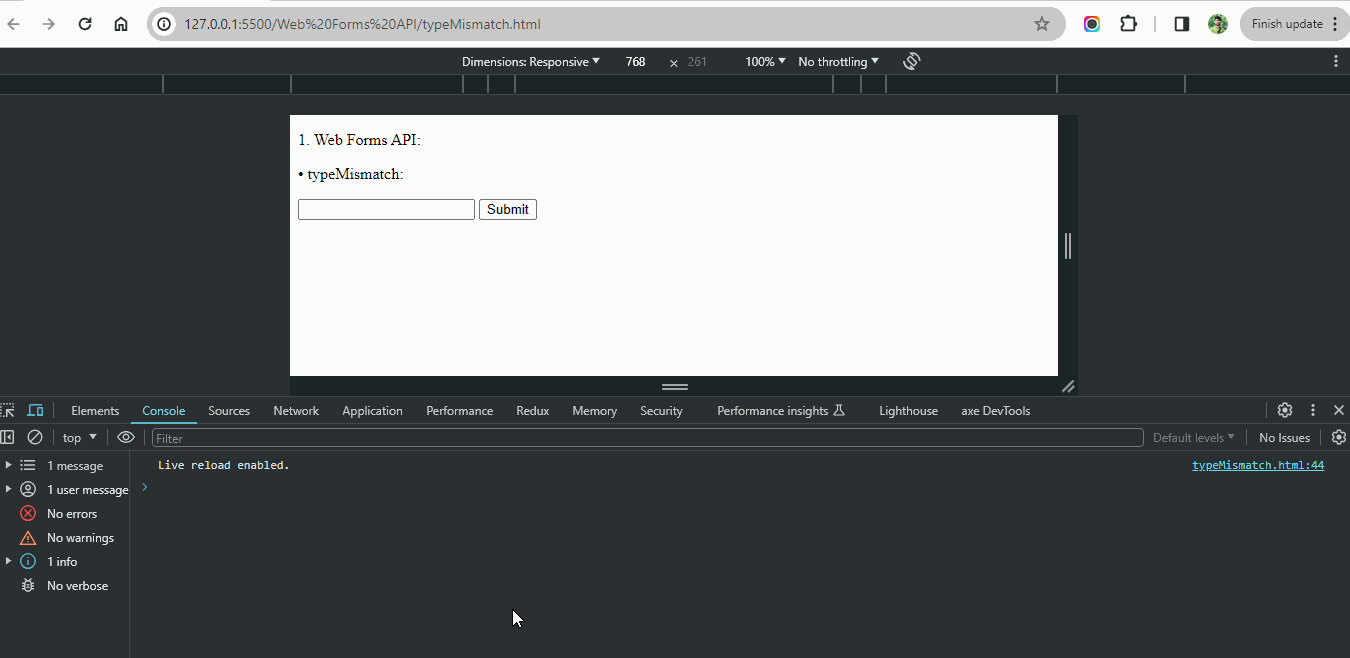
10. typeMismatch:
In basic terms, typeMismatch in the Web Forms API identifies when the input value doesn’t align with the anticipated data type. For example, if a field anticipates an email address but the user inputs something not resembling an email format, like “abc123,” typeMismatch is activated.
Here’s a simple example demonstrating the usage of typeMismatch:
HTML Form:
<form>
  <input type="email" id="emailInput" />
  <button onclick="validateForm(event)">Submit</button>
</form>
JavaScript:
function validateForm(event) {
  event.preventDefault();
  let emailInput = document.getElementById("emailInput");

  if (emailInput.validity.typeMismatch) {
    console.log("Value does not match the expected data type.");
  } else {
    console.log("Value matches the expected data type.");
  }
}
The validateForm() function is executed in the JavaScript code when the button is clicked. It retrieves the input element and checks its validity properties. If the entered value doesn’t match the expected data type (e.g., an email input doesn’t follow the email format), triggering typeMismatch, a corresponding message is logged. This example illustrates how JavaScript and HTML facilitate form validation to ensure data integrity in web applications.
Output:
11. valueMissing
Essentially, valueMissing is a key aspect of the Web Forms API, designed to identify instances where essential form fields are left blank. It activates when users attempt to submit a form without filling in mandatory fields, ensuring necessary information is provided for successful submission.
Here’s an example demonstrating the usage of valueMissing:
HTML Form:
<form>
  <input type="text" required id="textInput" />
  <button onclick="validateForm(event)">Submit</button>
</form>
JavaScript:
function validateForm(event) {
  event.preventDefault();
  let textInput = document.getElementById("textInput");

  if (textInput.validity.valueMissing) {
    console.log("Value is missing. Please fill out this field.");
  } else {
    console.log("Value is provided.");
  }
}
The validateForm() function is executed in the JavaScript code when the button is clicked. It retrieves the input element and checks its validity properties. If the value is missing in a required field, triggering valueMissing, a message prompts the user to fill out the field. This example showcases how JavaScript and HTML ensure proper validation and enhance user experience in web forms.
Output:

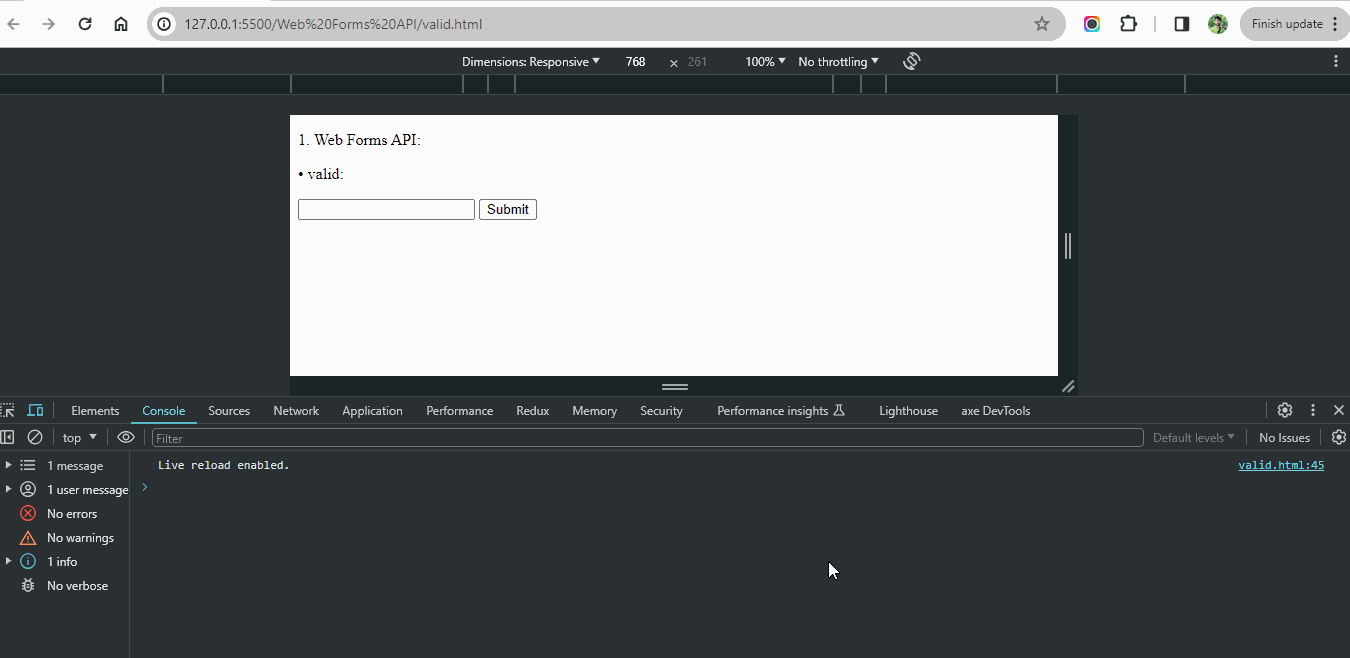
12. valid:
In simple terms, valid is a property in the Web Forms API that indicates whether the value entered in a form field is considered valid according to its constraints. It’s like a green light signaling that the input meets all specified criteria.
Here’s a simple example demonstrating the usage of valid:
HTML Form:
<form>
  <input type="email" id="emailInput" required />
  <button onclick="validateForm(event)">Submit</button>
</form>
JavaScript:
function validateForm(event) {
  event.preventDefault();
  let emailInput = document.getElementById("emailInput");

  if (emailInput.validity.valid) {
    console.log("Form is valid. Proceed with submission.");
  } else {
    console.log("Form is invalid. Please correct errors.");
  }
}
The validateForm() function is executed in the JavaScript code when the button is clicked. It retrieves the input element and checks its validity properties. If the input value is considered valid, triggering valid, the form can be submitted, and a success message is logged. Otherwise, if there are validation errors, an error message is logged, prompting the user to correct them. This example demonstrates how JavaScript validates forms in real-time, ensuring data integrity and user satisfaction.
Output:
Conclusion:
In this part, we’ve explored the foundational aspects of Web Forms API. The Web Forms API offers developers a potent arsenal for constructing resilient and intuitive web forms. By embracing its capabilities and implementing industry standards, developers can elevate the accessibility and safeguarding measures of their web applications. Await Part 2, which will cover the Web History API and Web Storage API in detail. To access Part 2, click this link.
Keep exploring and innovating with JavaScript!