Are you ready to declutter your WordPress website and say goodbye to unnecessary plugins?
Uninstalling a plugin might not sound exciting, but it’s like tidying up your digital space, making it faster and more efficient.
Whether you’re a beginner or a seasoned WordPress user, learning how to bid farewell to a plugin gracefully is a valuable skill.
In this post, we’ll walk you through the steps to uninstall a WordPress plugin. Not only this, but we’ll also help you assess your plugins and discuss additional ways to completely remove the traces of the plugin from your WordPress site.
So, without any further ado, let’s dive in and simplify the process of plugin removal.
1 Why Should You Uninstall a WordPress Plugin?
There are a few key reasons that you should understand before you uninstall a WordPress plugin.
First, it helps keep your website running smoothly and efficiently. Plugins can add extra code and functionality to your site, but having too many of them can slow down your site’s loading speed, which can frustrate visitors and hurt your search engine rankings.
Additionally, not all plugins are created equal. Some may have security vulnerabilities, putting your website and its data at risk. By uninstalling unnecessary or potentially risky plugins, you reduce these security risks.
Lastly, as your website evolves, you may find that some plugins are no longer needed because your site’s goals or features have changed. Uninstalling such plugins keeps your site focused and clutter-free, making it easier for you to manage and maintain.
2 Assessing Your WordPress Plugins
Before you begin to uninstall a WordPress plugin, it is important to assess the plugins on your site.
Identifying Which Plugin(s) to Uninstall
Think of your website as a toolbox and each plugin as a tool. To determine which plugins you should uninstall, review them first.
To review the plugins, navigate to the Plugins section from your WordPress dashboard. You’ll see a list of all the plugins you’ve installed on your WordPress site.
Consider the purpose of each plugin. Are they still serving a useful function on your website? If not, it might be time to part ways.
Sometimes, you might have more than one plugin that performs similar functions. Just like having two hammers in your toolbox, it’s redundant. Keep the best one and remove the others.
You can also look for feedback from other WordPress users. If a plugin has a history of issues or security concerns, it’s a red flag.
Ensure that your plugins are compatible with your current WordPress version. An outdated or incompatible plugin can cause problems.
Understanding the Impact on Your Website
Uninstalling plugins can affect your website in various ways, much like rearranging furniture in a room can change its appearance.
Removing a plugin might disable specific features or functions on your site. Make sure you’re okay with losing those features.
Some plugins can slow down your website. Removing unnecessary ones can improve loading speed and overall performance.
Changes to your website can affect how users navigate it. Ensure that removing a plugin won’t disrupt the user experience.
Check if removing a plugin might cause compatibility issues with other plugins or your WordPress theme.
Making a Backup (If Necessary)
It’s always wise to make a website backup before you uninstall a WordPress plugin.
Use a reliable backup plugin or your hosting provider’s backup tools to create a copy of your website. This backup is a safety net if anything happens during the uninstallation process.
It’s a good practice to regularly back up your website, not just before uninstalling plugins. This ensures you have recent copies to restore if needed.
3 Difference Between Deactivating and Deleting a WordPress Plugin
Before we begin, let’s understand the difference between deactivating and deleting a WordPress plugin.
Deactivating a WordPress Plugin
Deactivating a plugin is like putting a tool back into your toolbox without removing it entirely.
When you deactivate a plugin, you essentially stop its operation on your website while preserving its core files, settings, and data.
This is immensely useful in various scenarios. For instance, when troubleshooting issues or conflicts arising from a specific plugin, deactivation offers a convenient means of isolating the problem.
Moreover, deactivation allows you to swiftly revert to a previous setup during the testing phase of a new plugin or theme.
Deleting a WordPress Plugin
Conversely, deleting a plugin is like removing a tool from your toolbox altogether.
Deleting a plugin deactivates its functionality and eliminates all associated files, settings, and data from your WordPress installation.
This action serves a distinct purpose, primarily optimizing your website’s performance, security, and cleanliness. Removing unnecessary or redundant plugins will streamline your site’s codebase, improving loading times and reducing resource consumption.
The choice between deactivation and deletion hinges on your immediate objectives. Deactivate a plugin when you anticipate future use or require a temporary troubleshooting measure. Delete a plugin when you seek to optimize performance, enhance security, or eliminate digital clutter.
4 How to Uninstall a WordPress Plugin
Let us now see how you can uninstall a WordPress plugin.
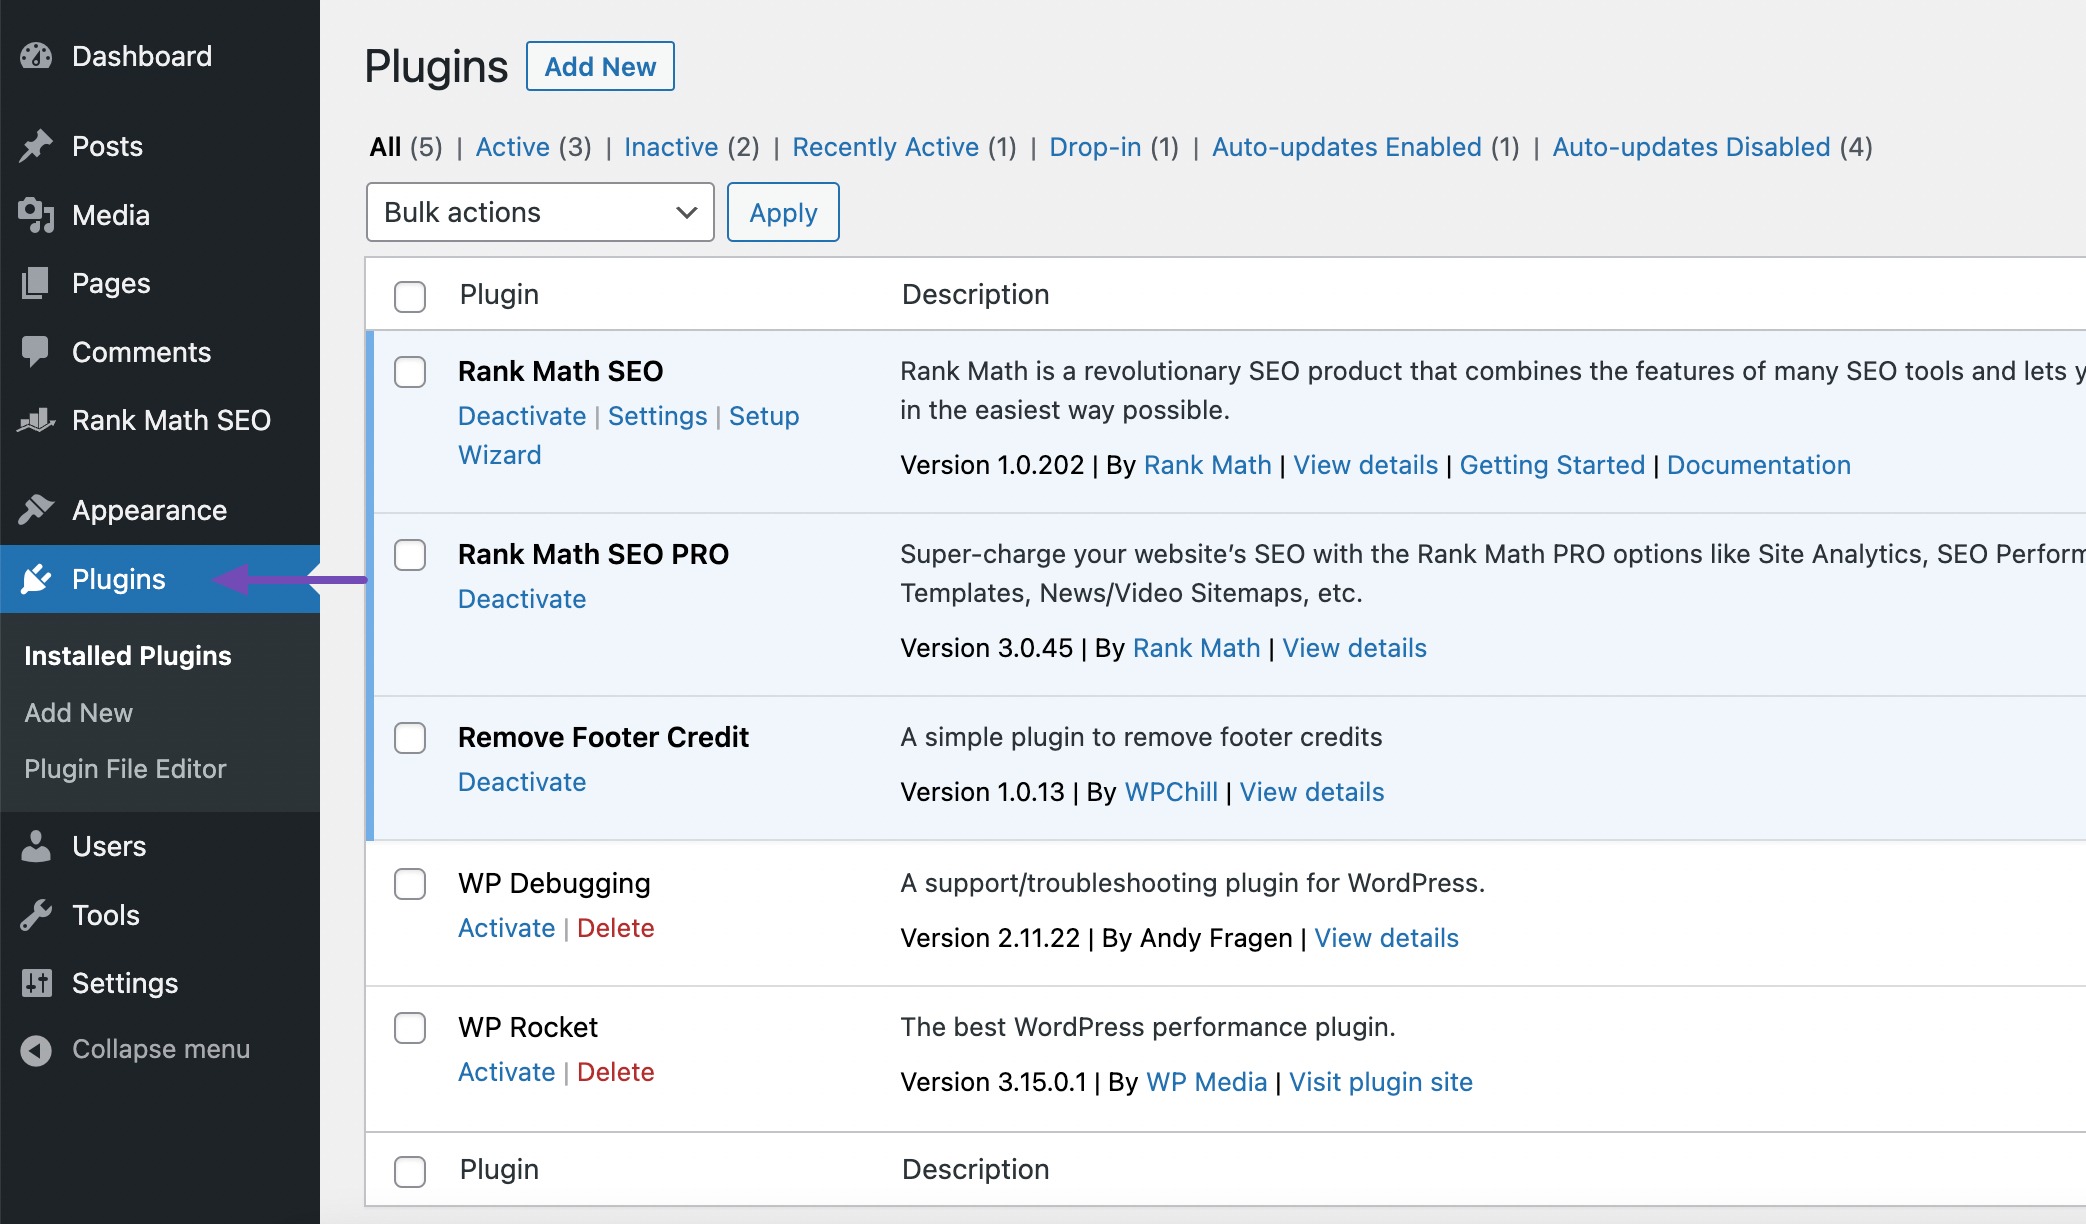
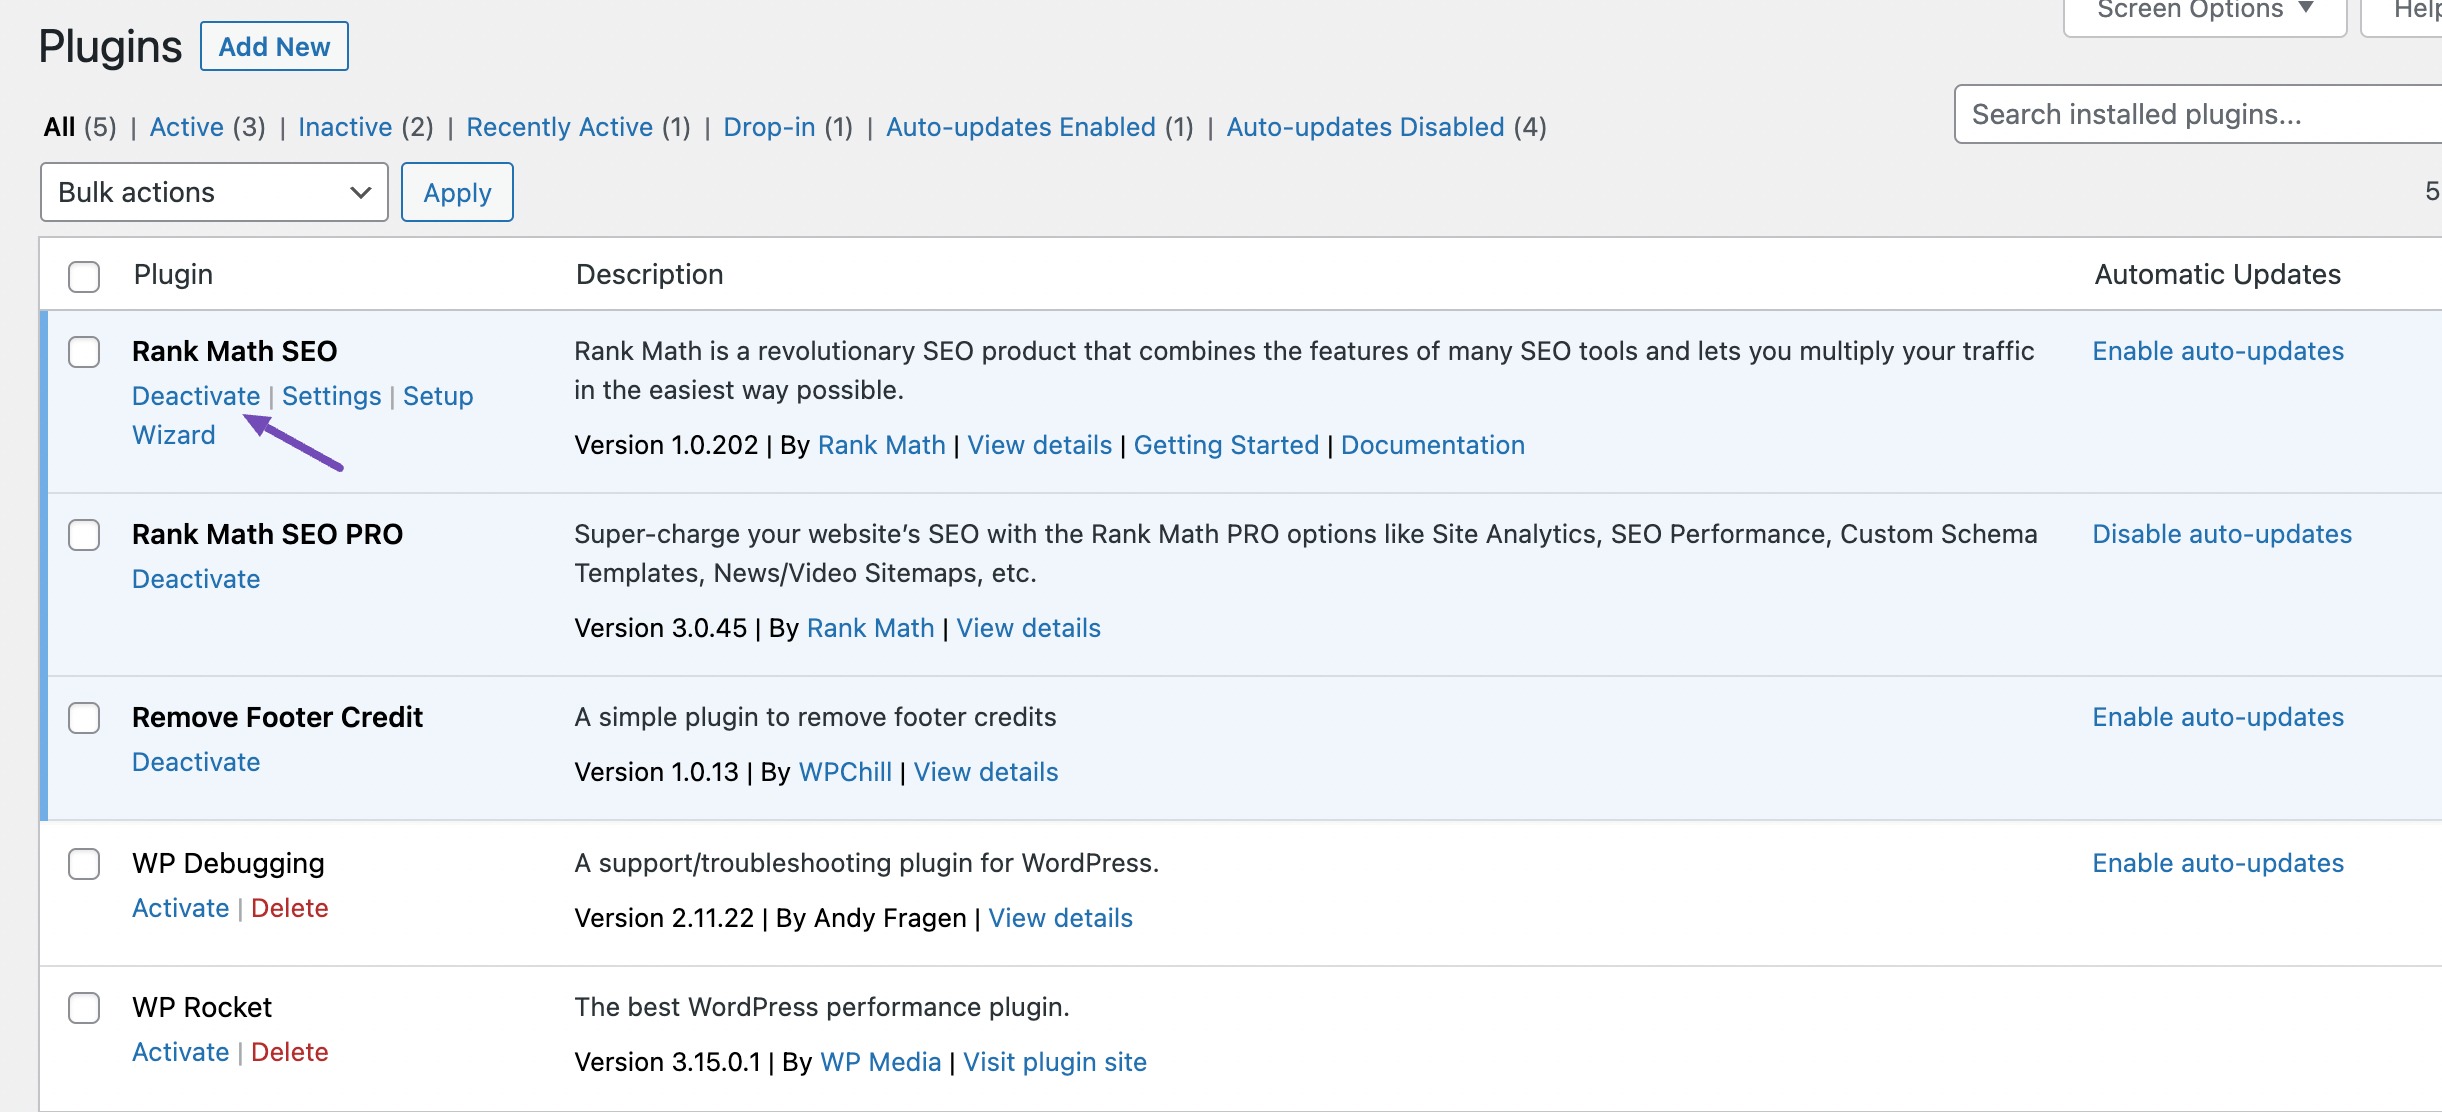
Navigate to the Plugins section from your WordPress dashboard. As mentioned, you’ll see all the plugins installed on your website. Before you uninstall a WordPress plugin, you need to deactivate it.
Find the plugin you wish to uninstall and click the Deactivate link below its name.

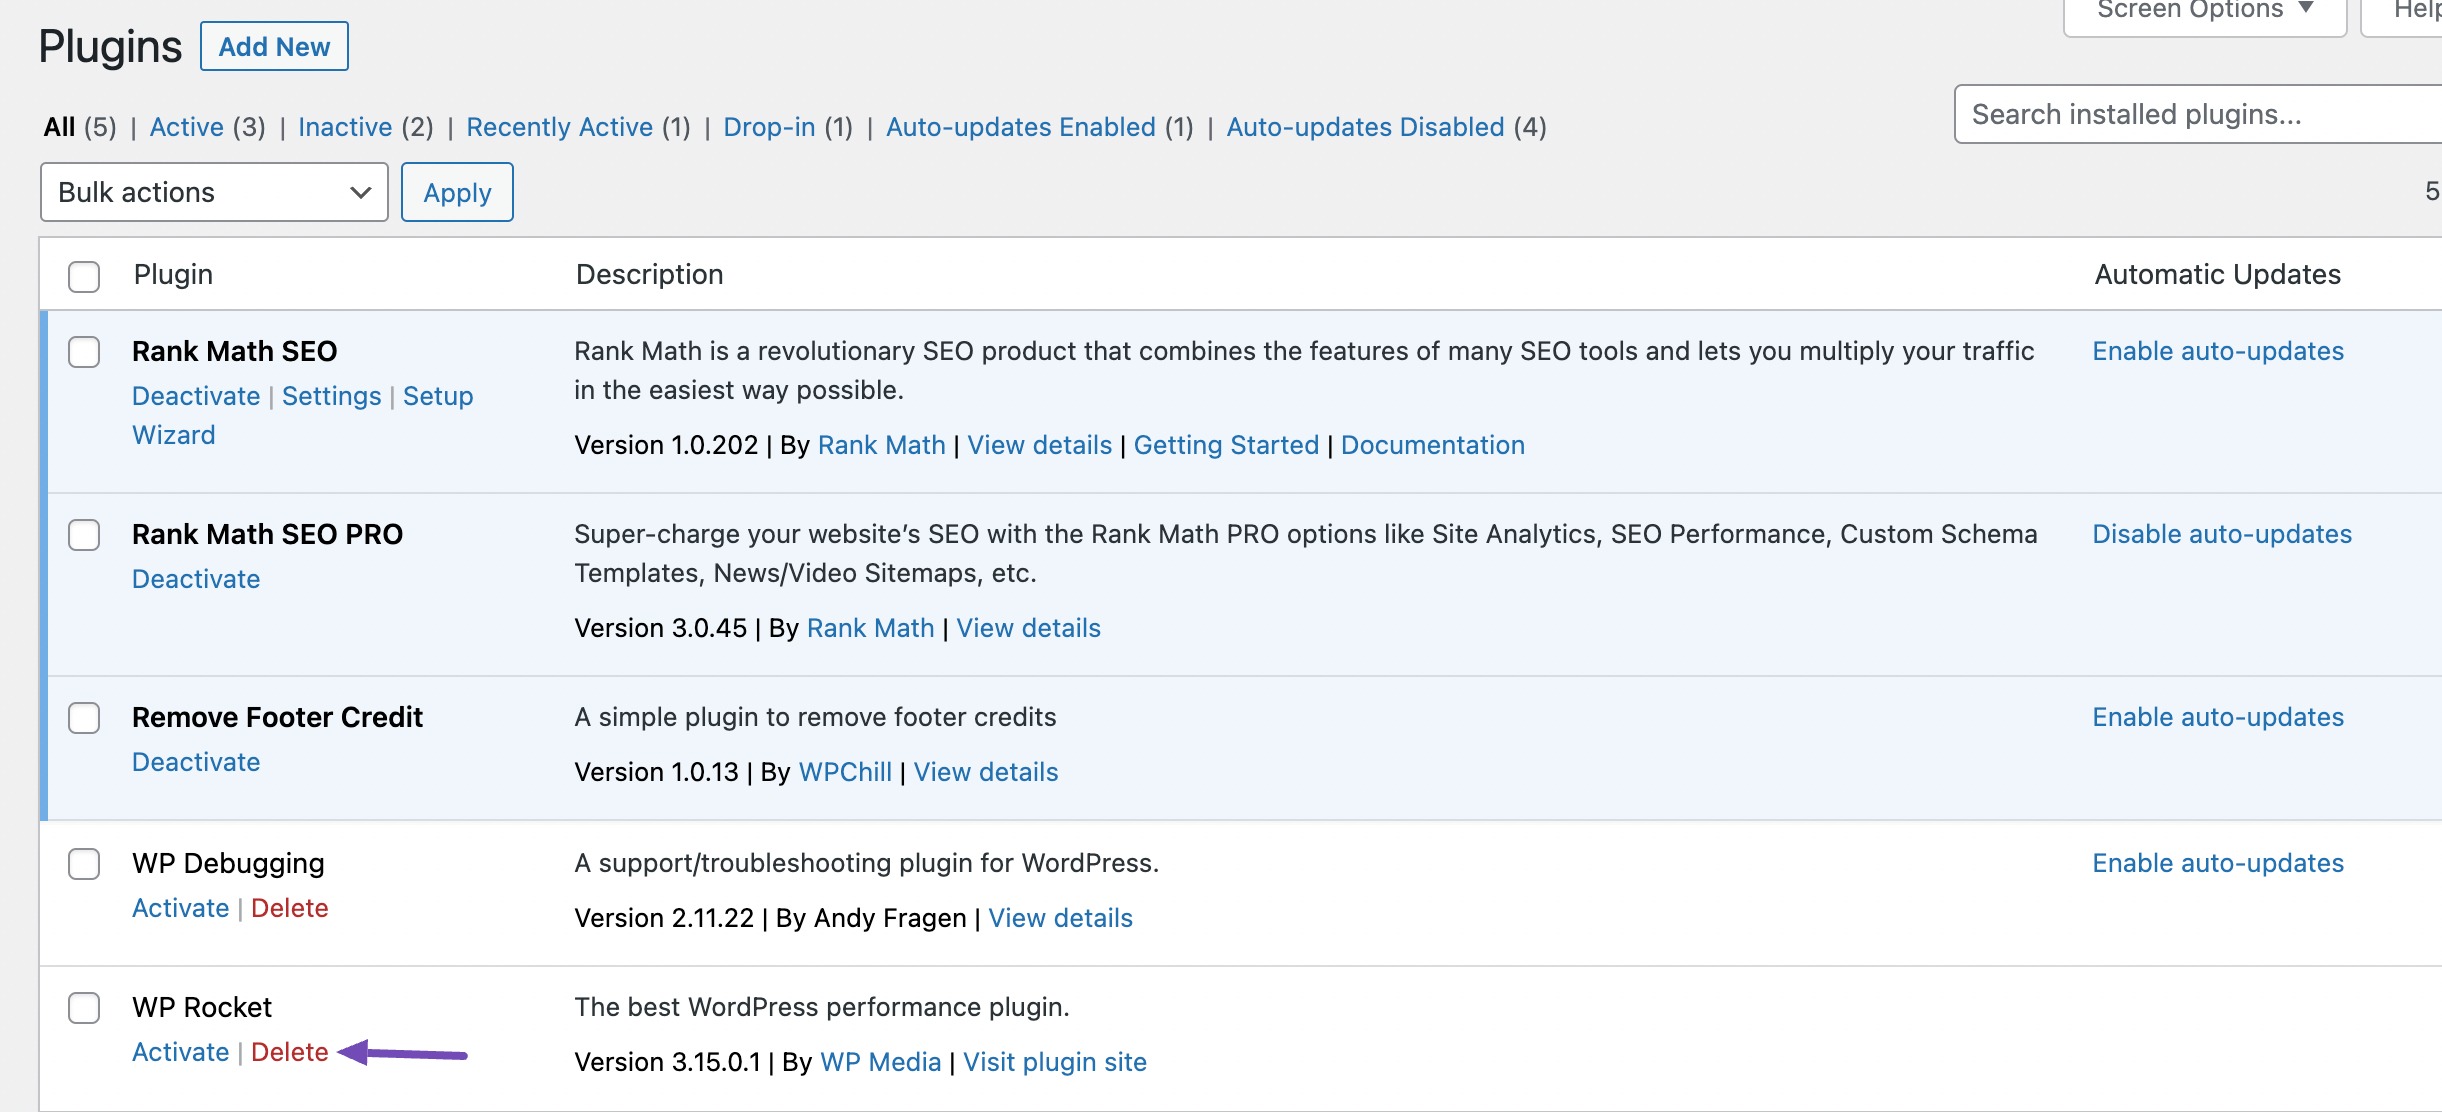
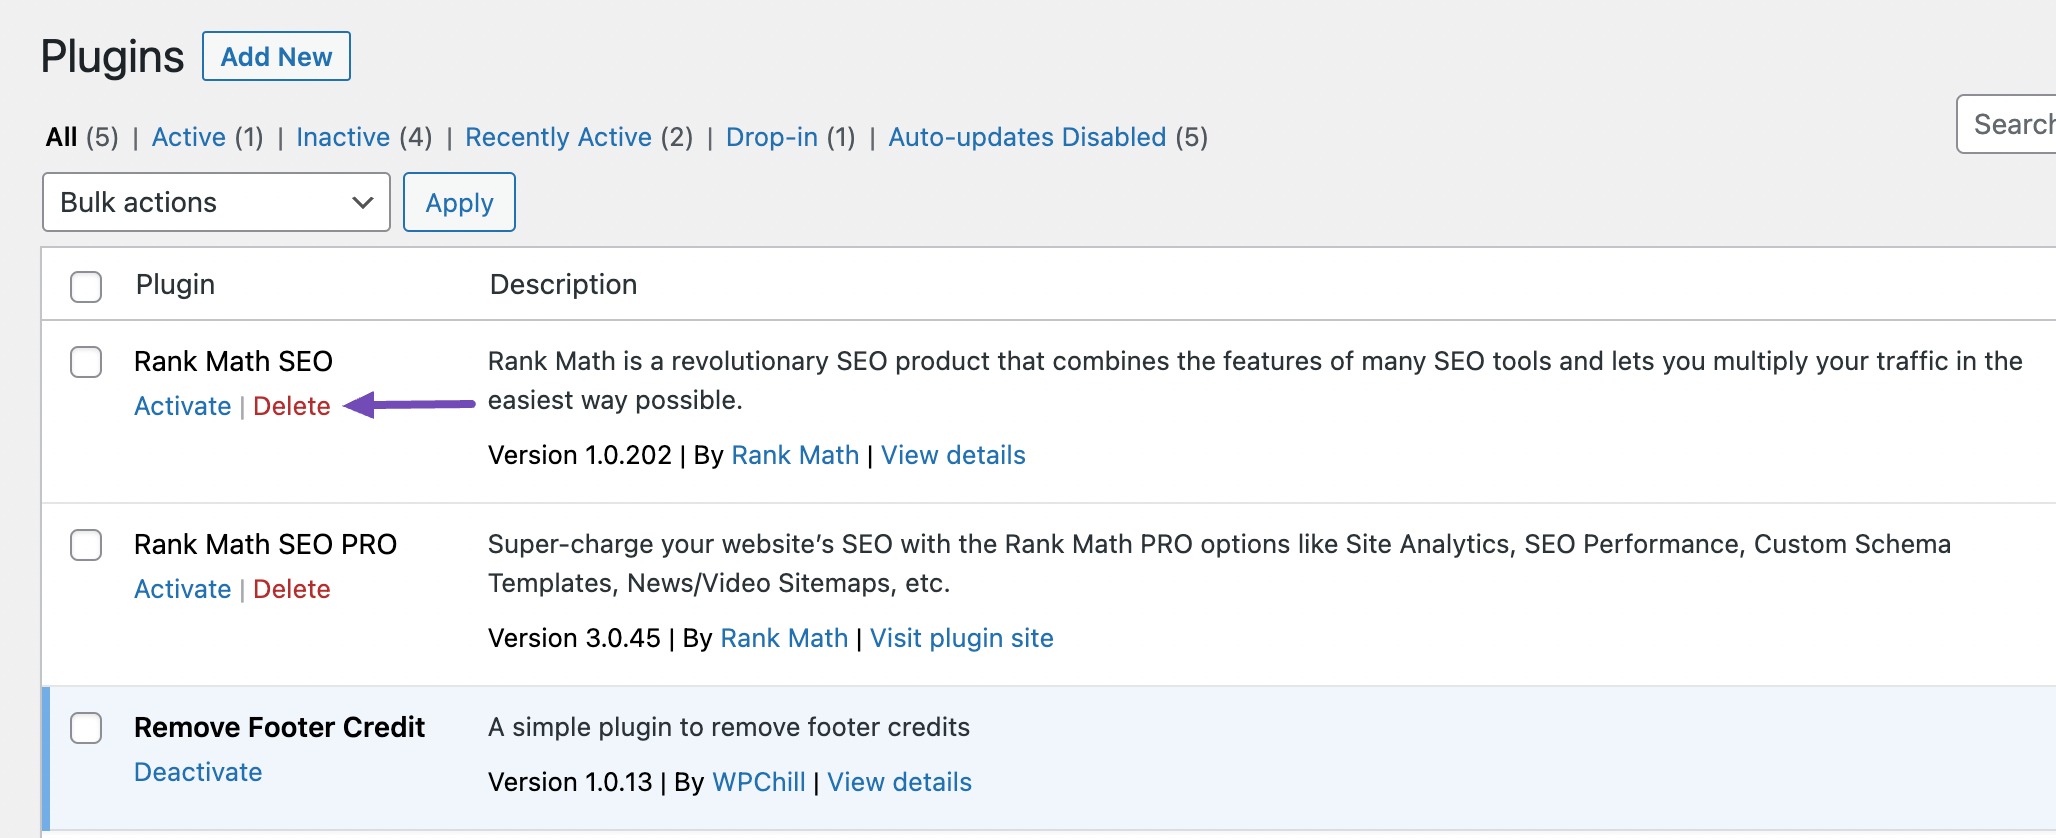
Once the plugin is deactivated, you’ll notice that the Deactivate link changes to the Delete link. Click on the Delete link to uninstall the plugin, as shown below.
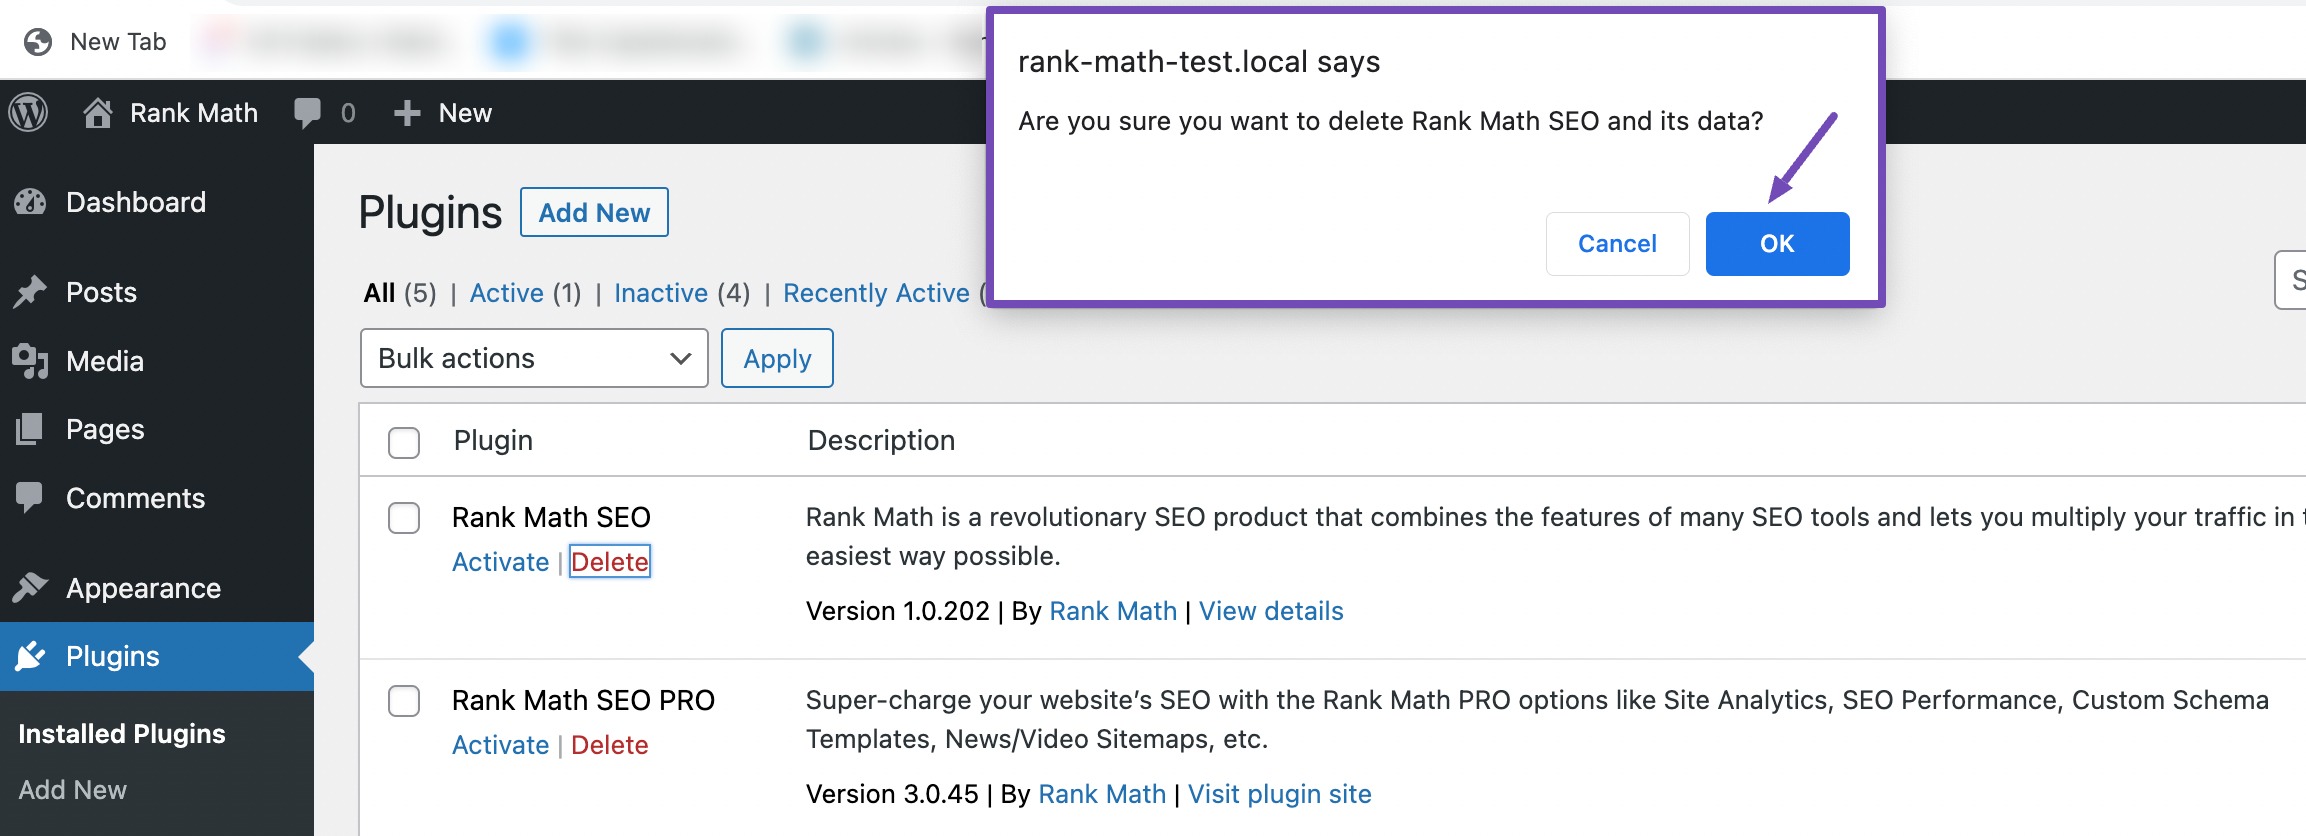
WordPress will ask you to confirm the deletion of the plugin. Double-check to ensure you’re uninstalling the correct plugin. If you’re certain, click on OK.
WordPress will now safely uninstall the plugin from your site.
You can choose to take additional actions to ensure every last trace of the plugin is removed. It’s important to note that the steps below are not mandatory and are better suited for users with some experience rather than absolute beginners.
Plugins can leave behind various files and data even after deactivating them through the WordPress dashboard. Removing these extra files helps to maintain a clean and efficient website.
Use FTP like FileZilla or your web hosting control panel to remove the extra files. In your website’s file directory, navigate to the wp-content folder. Inside, you’ll see the plugins folder.
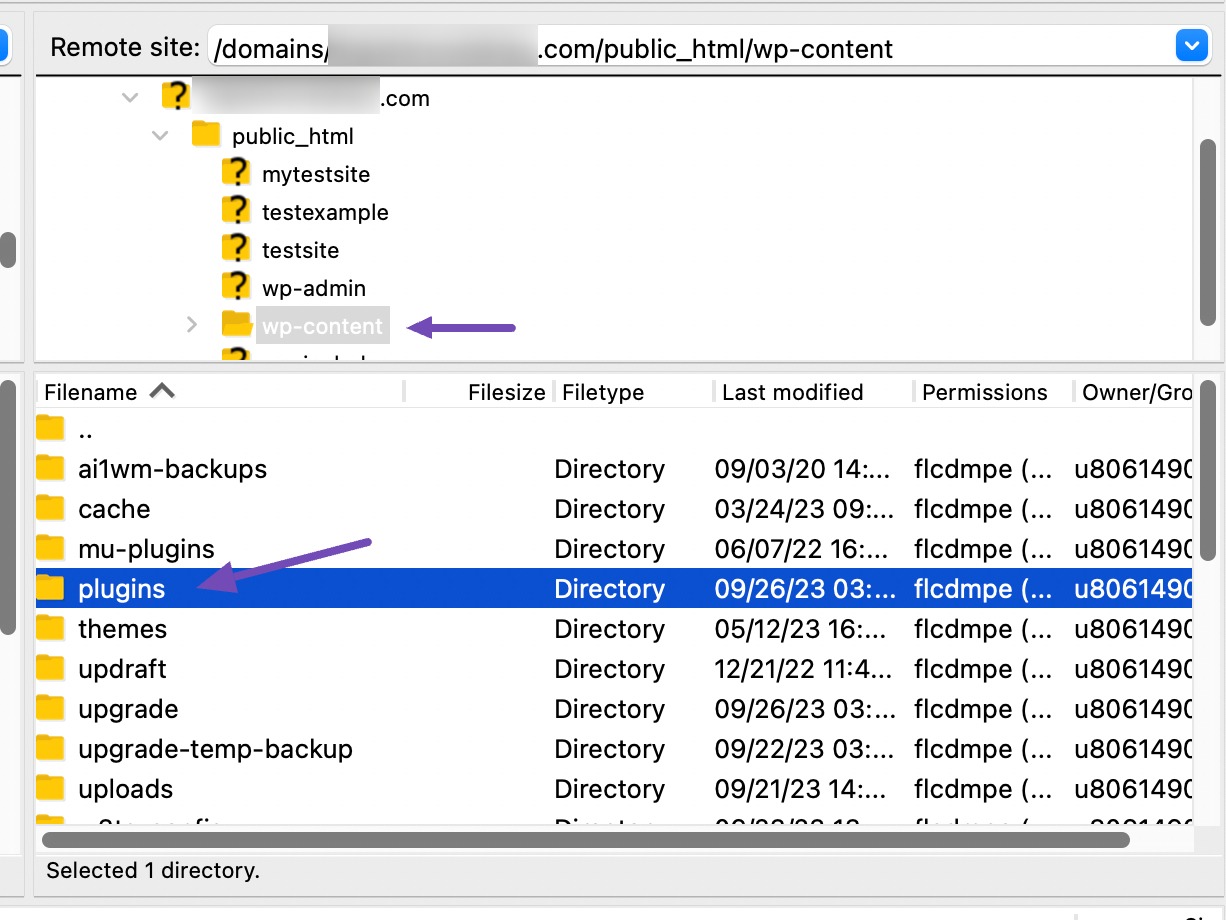
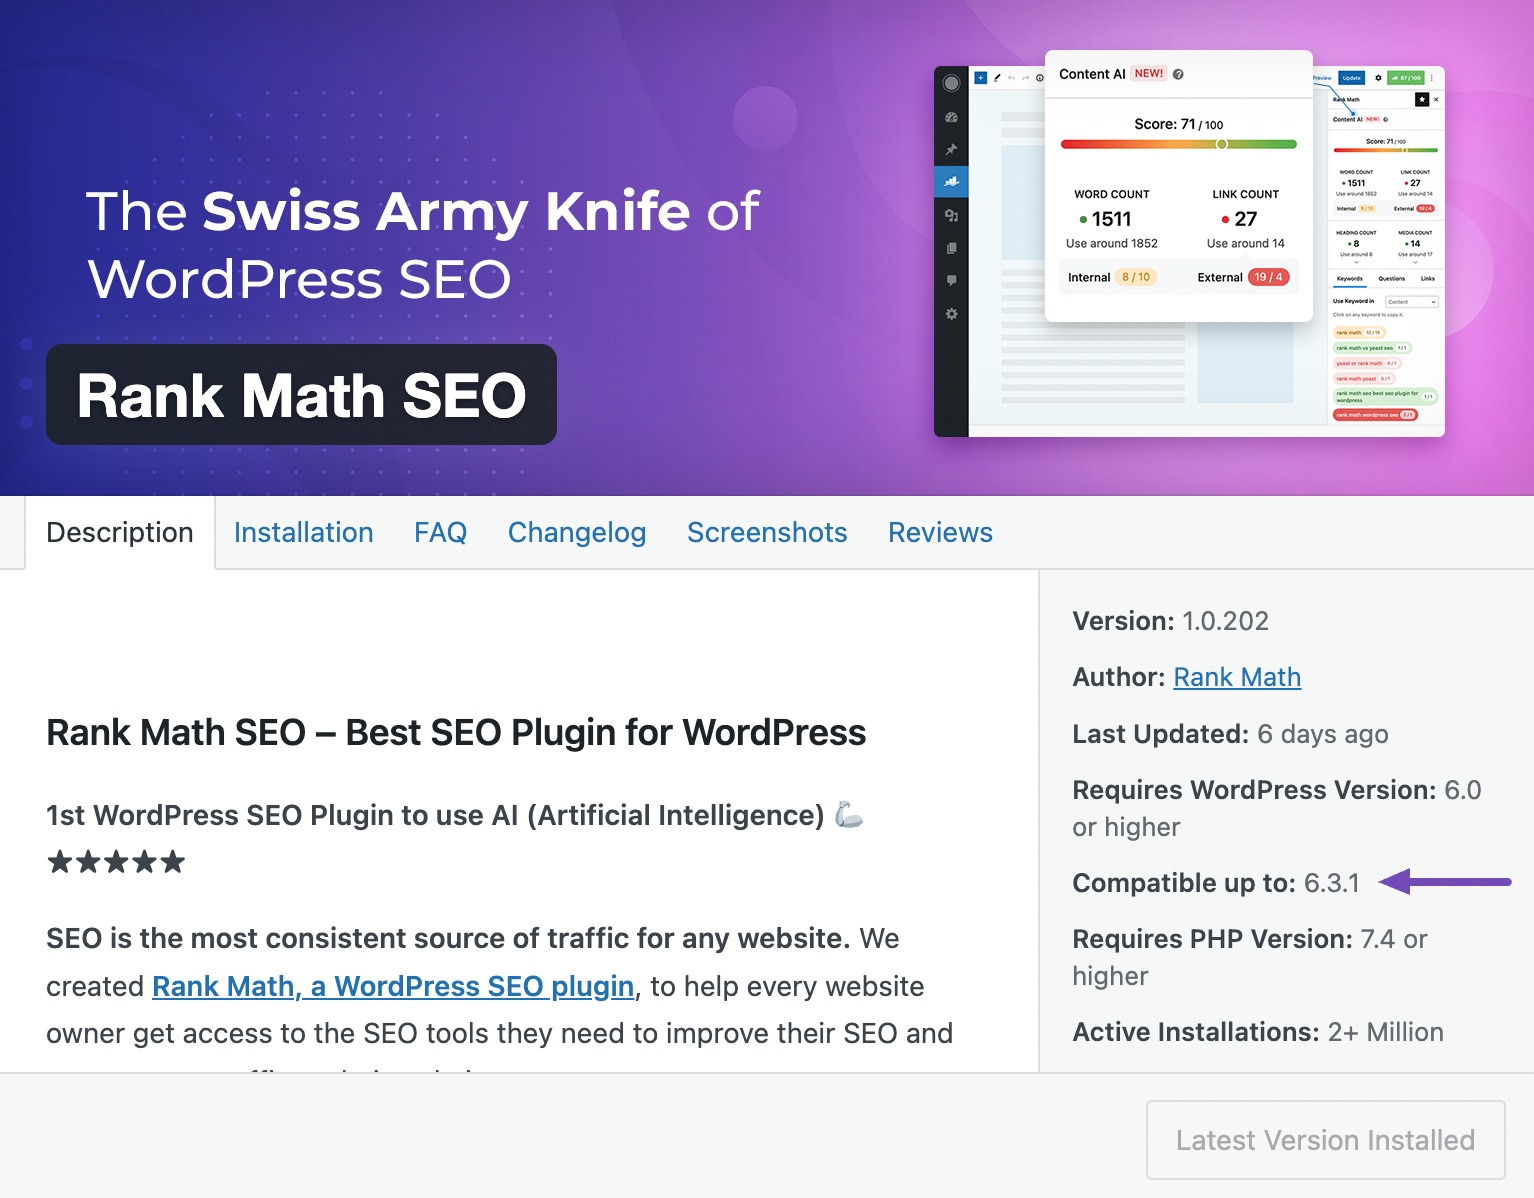
Within the plugins folder, search for the folder named after the plugin you want to remove extra files from. For example, Rank Math SEO creates a seo-by-rank-math subfolder.
Once you’ve located the plugin’s folder, right-click on it and click the Delete option to delete it entirely.
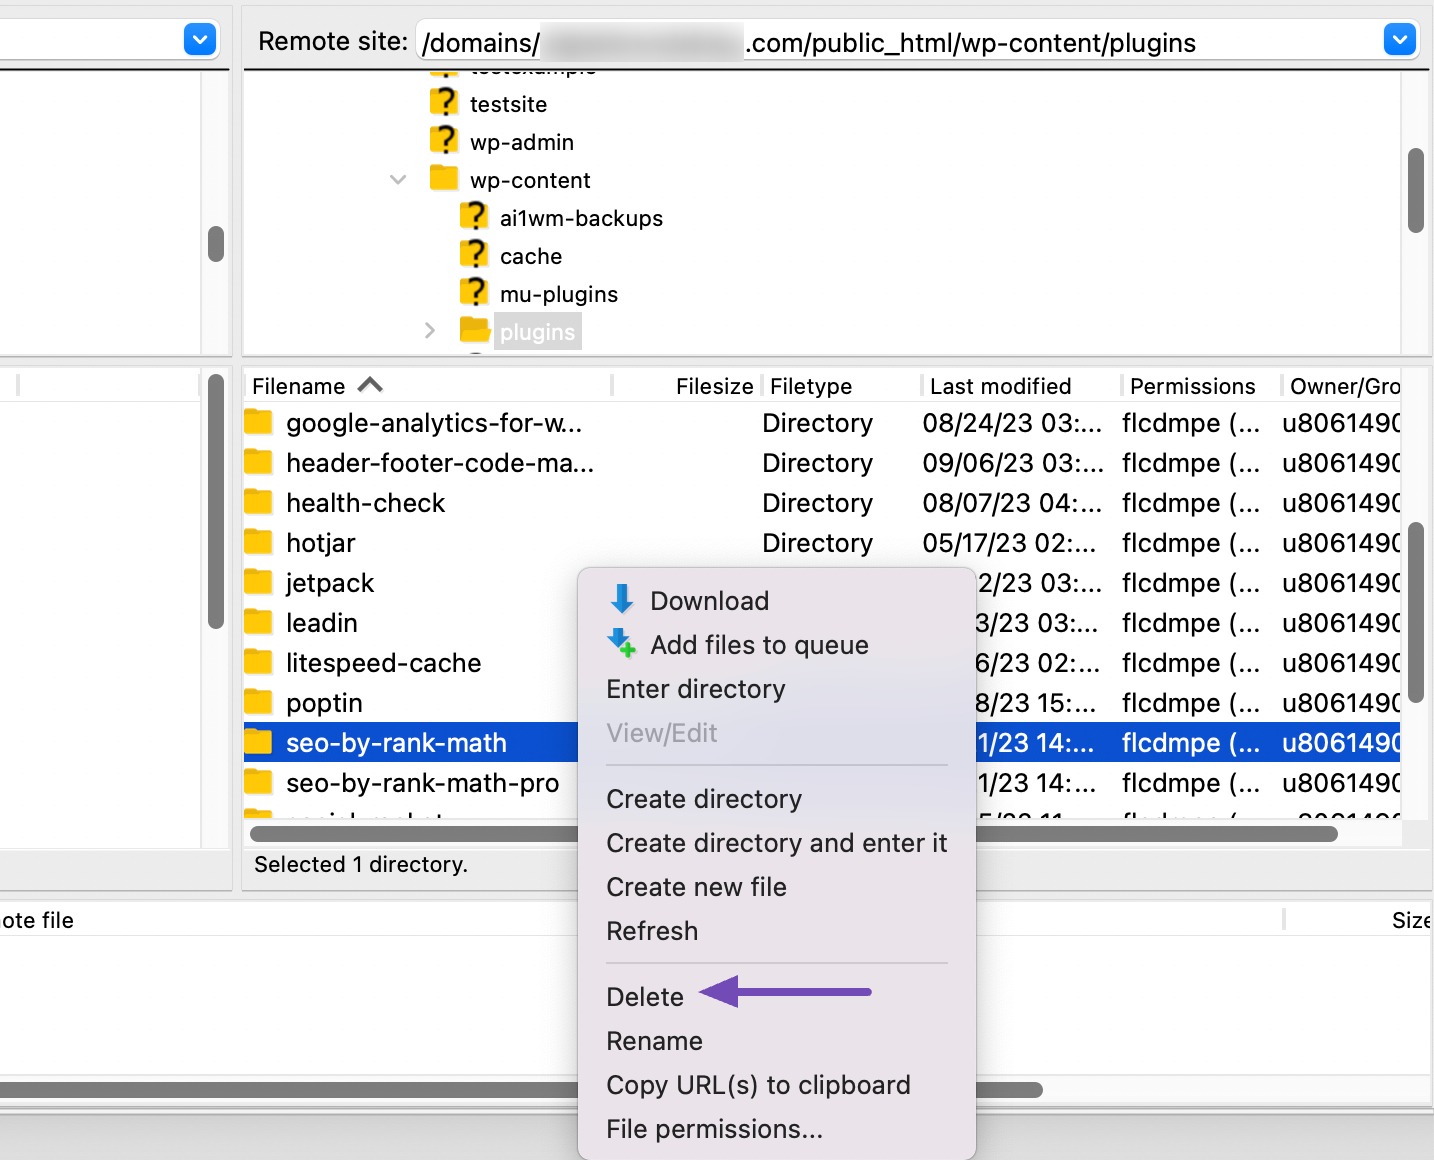
This will remove all the plugin files, including any extra files it may have added.
To ensure all extra files are removed, navigate back to the Plugins section from your WordPress dashboard and check if the plugin is listed there. If it’s not, you’ve successfully removed all its files, and the plugin is deleted.
6 Remove Unused Shortcodes in WordPress
When you stop using a plugin that provides specific shortcodes, you may be left with unused or broken shortcode tags in your content. It’s a good practice to remove these shortcodes for an efficient website.
To remove unused shortcodes, add the following code to your functions.php file. Update the pluginshortcode with the plugin’s actual shortcode tag.
add_shortcode( 'pluginshortcode', '__return_false' );Remember, if you want to use them with the original plugin again, you must remove the code.
7 Cleaning Up the WordPress Database
When plugins are installed or uninstalled, they can leave behind data traces that may clutter your database, potentially affecting your site’s performance.
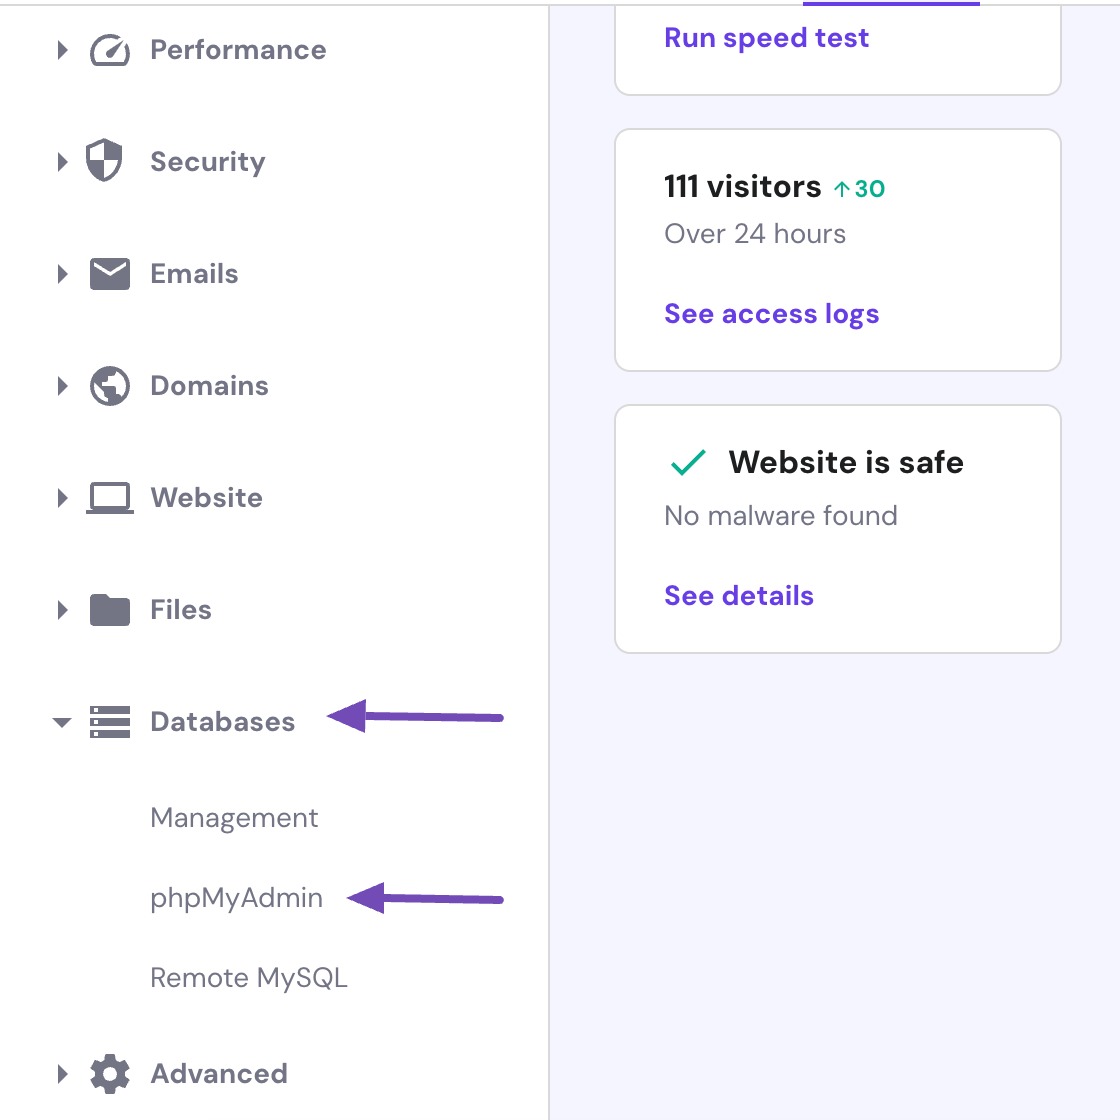
You can remove the tables directly within phpMyAdmin. Login to your hosting account and then scroll down to the database section. Click on phpMyAdmin, as shown below.
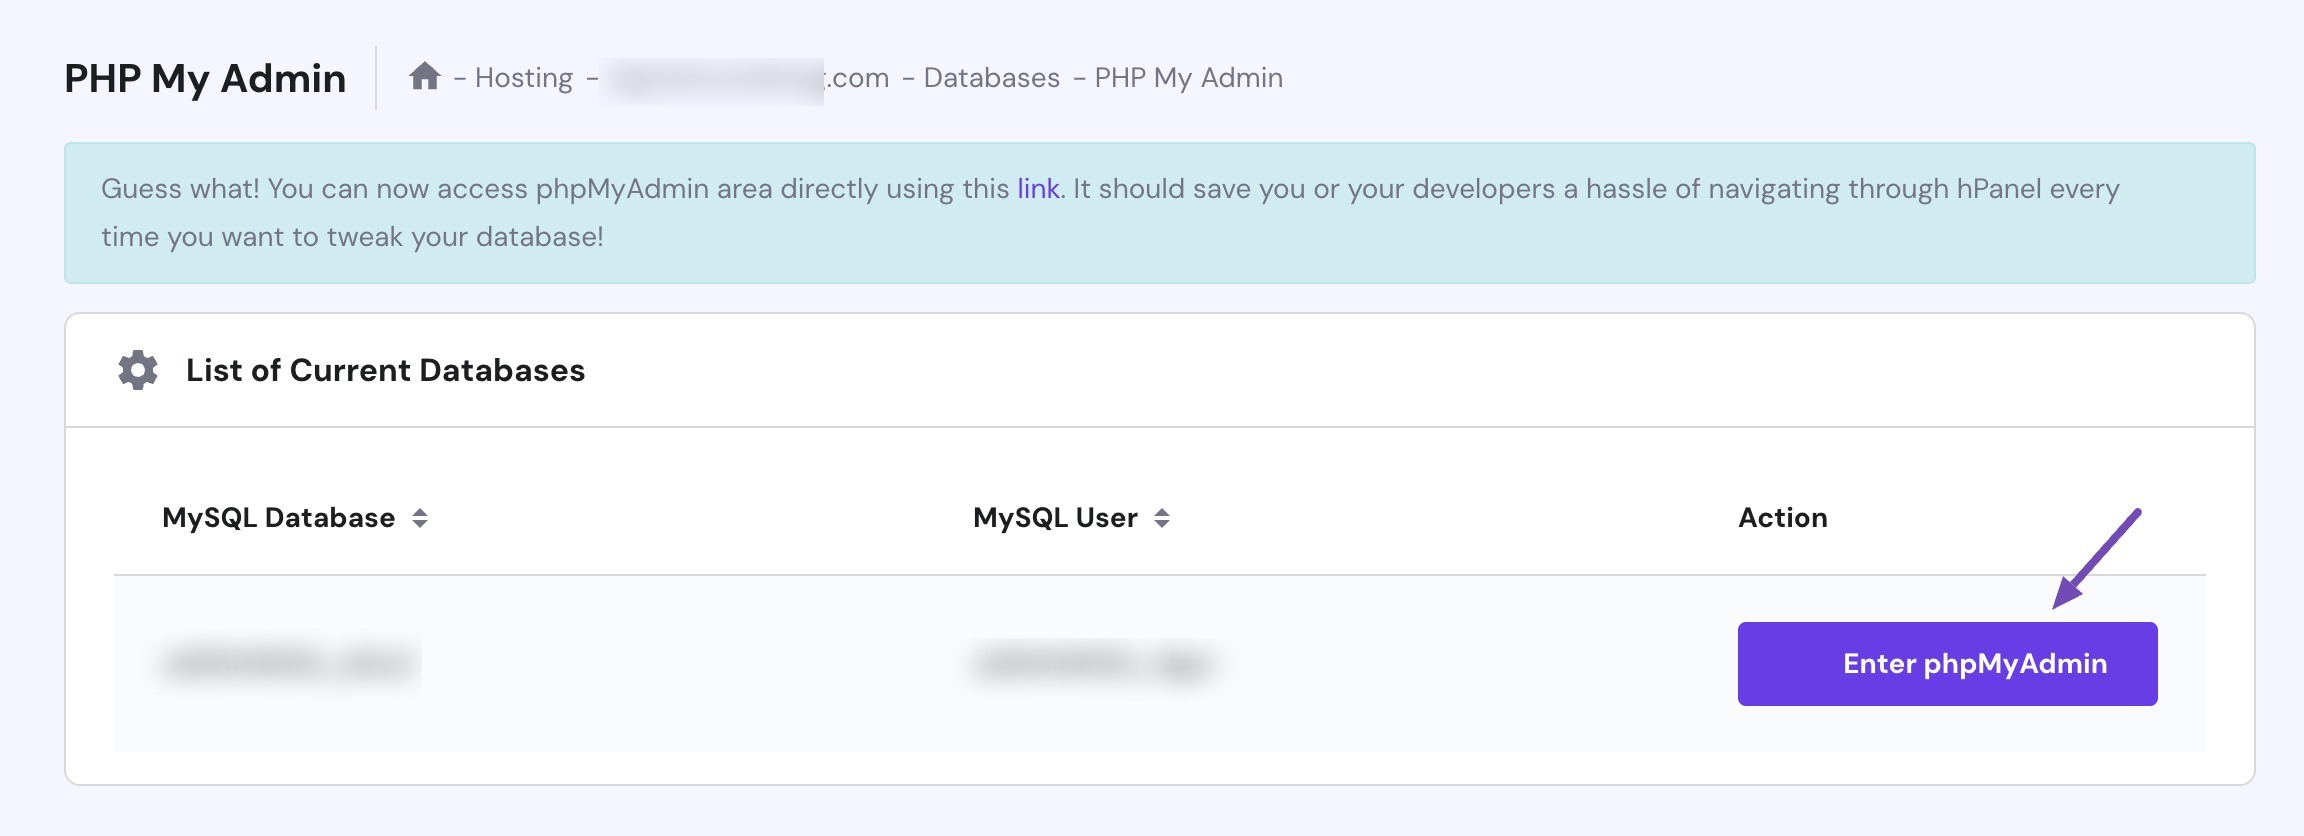
Next, click on the Enter phpMyAdmin button.
Note: These settings might slightly differ based on your hosting provider.
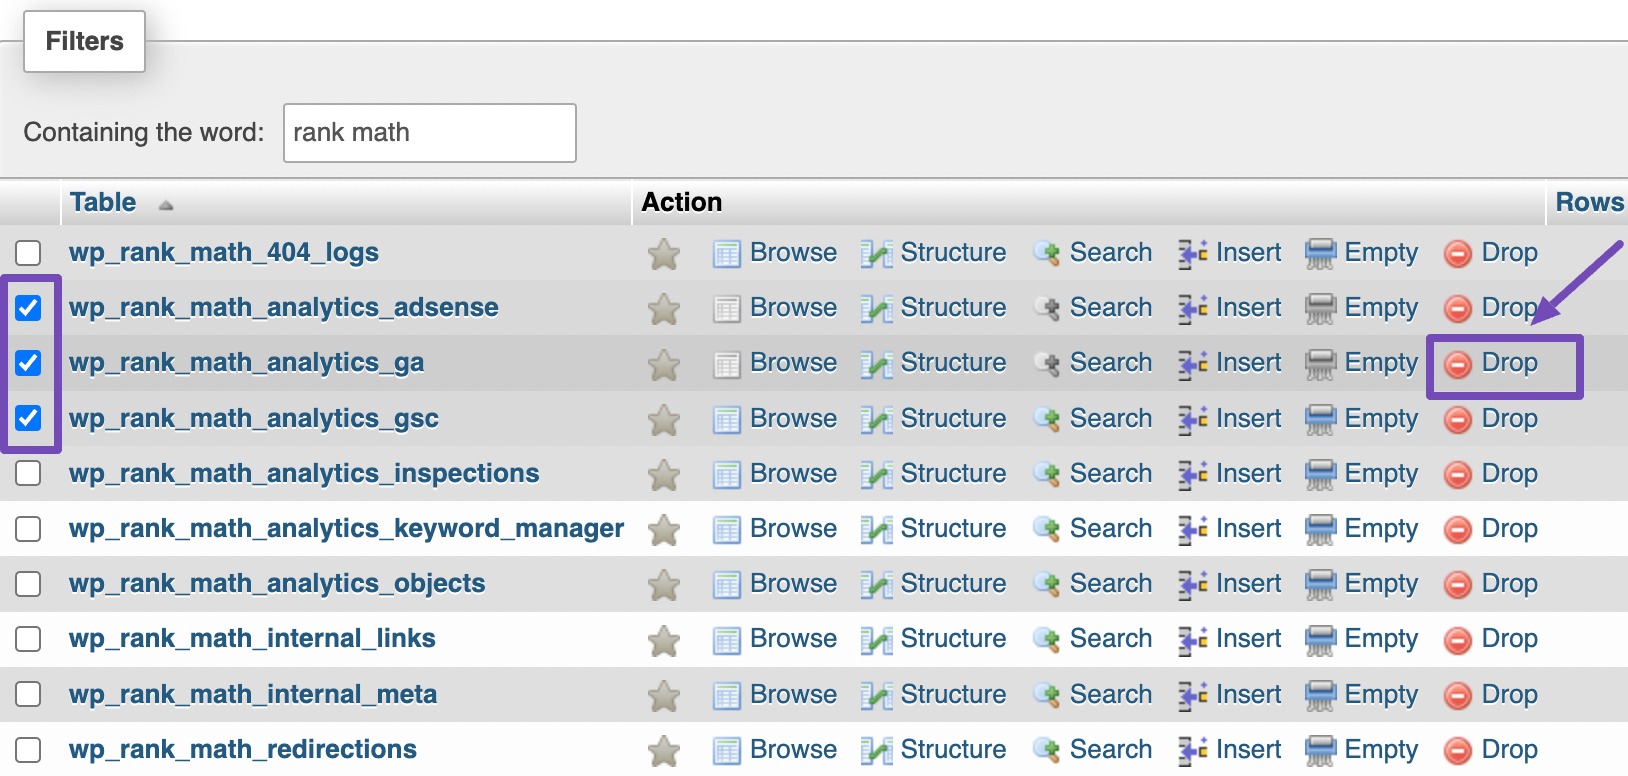
Next, click on your database and select the tables you want to delete.
Once you have chosen the tables, click the Drop option to remove them.
You will now see a message that you are about to destroy these tables. Click the OK button to confirm the action.
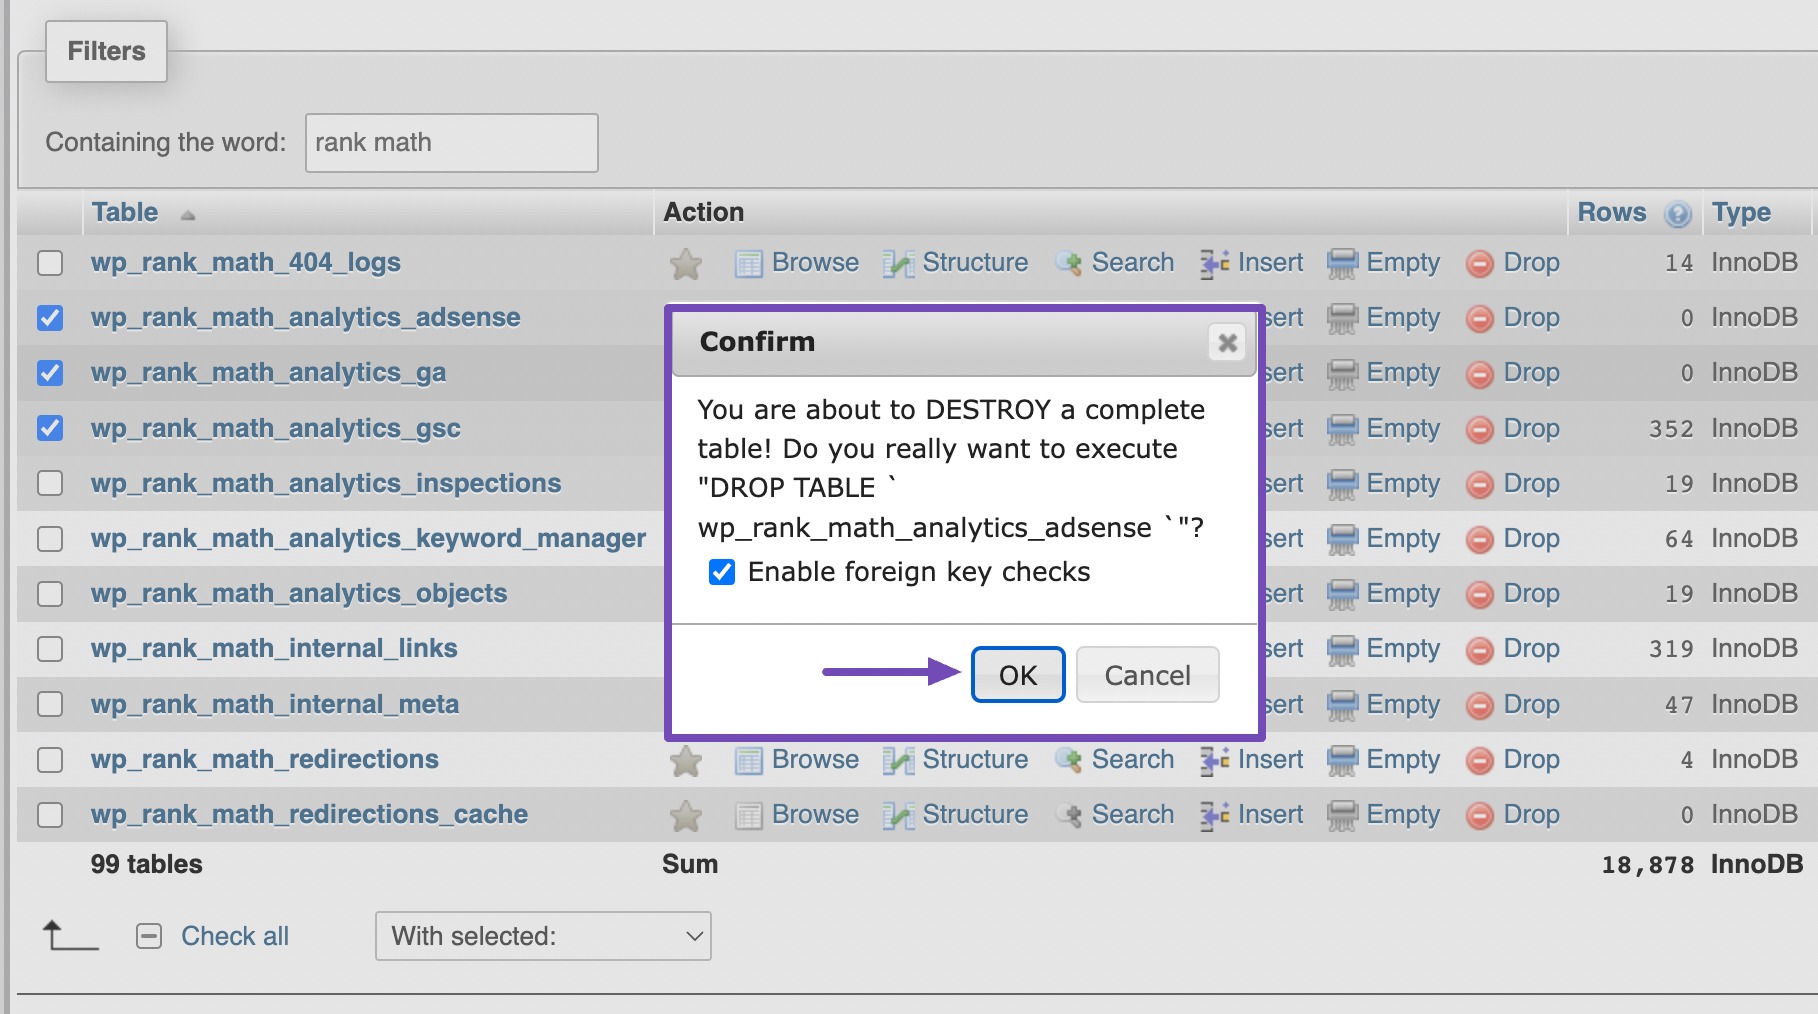
phpMyAdmin will proceed to drop the tables and remove all data they contain. It’s important to understand that this action is permanent; once the tables are deleted, there’s no way to recover them unless you have a backup.
8 Wrapping It Up
Mastering the process of uninstalling a WordPress plugin is an essential skill for any website owner. It’s not just about removing excess baggage; it’s about maintaining a well-organized, high-performing, and secure online platform.
By carefully assessing which plugins to uninstall, understanding their impact, and making backups when necessary, you’ve equipped yourself with the knowledge to keep your WordPress site in tip-top shape.
So, remember, regarding WordPress plugins, less can often mean more. Uninstall wisely, and you’ll enhance your site’s efficiency and ensure a smoother and safer online experience for you and your visitors.
If you like this post, let us know by Tweeting @rankmathseo.