Every digital marketer understands the importance of consistently producing fresh content.
If your strategy includes multiple platforms, then you also know the challenge of keeping up with the content demand for each.
One way to maximize your resources is to repurpose existing content.
Specifically, taking the blogs and articles already on your site and turning them into videos for YouTube and social media is a great place to start.
Fortunately, we have a few tools that can help you accomplish this quickly and easily.

Below, we’ll further discuss the benefits of repurposing content and explore three tools available from the Semrush App Center:
Let’s see how it looks when each app turns articles into videos.
Why Should You Repurpose Blogs and Articles into Videos?
For one, repurposing content helps your message reach more potential customers.
Your blog might rank first on Google for your target keyword, but only searchers using that term are likely to see it. If you repurpose that blog into a video, you have the chance to get it in front of social media and YouTube users. You’ll reach more people who might be at a different stage in the buyer journey.
And those who prefer watching content over reading will also see your message.
Additionally, content repurposing helps you fill out your content plans. When you can turn one blog into video or social posts, it saves you the time and hassle of coming up with new ideas in order to fill out a consistent posting schedule.
So, how do you create all these videos at scale? Going to a video production company could be costly.
Fortunately, several tools in Semrush’s App Center can help you take an article from your website and produce a video with ease.
How Do Article-to-Video Generators Work?
Most article-to-video generators take your blog’s URL and, in a matter of minutes, automatically generate fresh video content.
After the tool produces a video, users can make edits by adjusting audio, swapping out images, and even adding their brand’s colors.
From how-to guides to tutorials, case studies, and product reviews, your new videos will bring your blogs to life and give your audience more of what they want.
Let’s dive into a few of these tools, exploring what they can do and how they work, so you can determine which ones best meet your needs.
How to Turn Articles into Videos with AI Social Content Generator
First on our list is AI Social Content Generator.
As the name implies, this tool uses the power of AI to create social media content, including:
- Instagram reels and stories
- Facebook stories
- TikTok videos
- YouTube videos
Keep your content on-brand by adding your company’s colors, fonts, and logos.
With tons of templates and editing options, you’re sure to make a video that will stand out from your competition and keep your audience engaged.
This app is available to test out with a free 7-day trial, or as a $35/month subscription.
Let’s take a step-by-step look at how the app works by repurposing content from our blog about snackable content into this video:

Step 1: Create Your Post
Open the app and click on the blue “Create New” button in the top right corner of the Content Library.

This will take you to a screen to choose what type of post you want to make. The most straightforward option to create a video from a blog post is “Text to Post.”

This will take you to a screen to prompt the AI. Make sure you enter the exact type of content you want and what you want the AI to do. Here we use the prompt: “Create a post with video about snackable content from this blog https://www.semrush.com/blog/snackable-content/.”
Once you’ve added your prompt under “A Post About,” click “Next.”

A screen will pop up with template options. Click on your selection, and a green checkmark will appear.
On this screen, you can also choose your:
- Video length
- Orientation
- Style

Once you’ve made your selections, click “Next.”
Now you’ll choose your assets. These are the images that will populate your video. You have the option to:
- Let AI select the best assets for your post
- Search by keyword
- Use your own assets

If you want to use a mix of these options, you’ll be able to make changes during the editing process. For now, choose the option you think you’ll want for the majority of assets and click “Generate.”
Step 2: Edit Your Video
After you click on “Generate,” the app will take you back to your Content Library home screen. Click on the pencil icon to begin editing your video.

The left side menu bar provides options to:
- Change design
- Add text
- Swap out media
- Upload your own media
- Move element layers
- Resize your video

Step 3: Download and Share Your Video
When you’re happy with your video, click the “Export As Video” button in the top right corner.

Your video will download as an .mp4 file. It’s ready to post.
How to Turn Articles into Videos with Instant Video Creator
Next up is Instant Video Creator. Available from the Semrush App Center, this tool allows you to quickly create a video from your blog post or article.
You’ll get a video that you can easily edit a few moments after providing your URL.
Instant Video Creator can produce:
- TikTok videos
- YouTube videos
- Instagram stories
- Facebook reels
And more.
This app is available to test out for free or as a subscription with plans starting at $24/month.
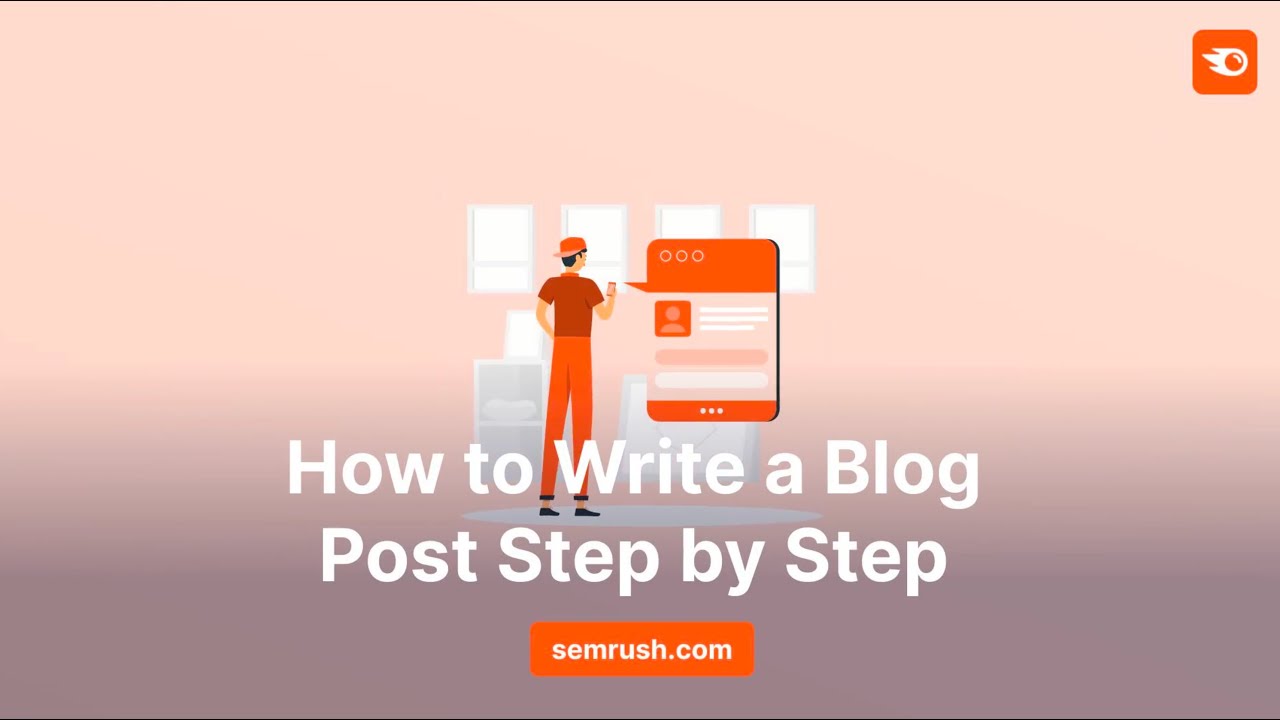
Watch how we repurposed our article How to Write a Blog Post into this video below:
Step 1: Create Your Video
Launch the app and select “URL to Video.”

In the pop-up window, add the URL for the blog or article you want to repurpose into a video. You’ll also select your desired length and type of images (you’ll be able to change these later if you want). Then click “Create Video.”

A few moments later, your video will appear alongside the storyboard.

Step 2: Edit Your Video
In the storyboard, hover over a block of text. Three icons will appear. Click the:
- Plus sign to add a block of text
- Gears to make edits
- Grip dots to move and reorder blocks of text


Once you’re happy with the content in your video, you can make further edits using the menu bar on the left. Make changes to:

Step 3: Download Your Video
After you’ve made all your edits and are satisfied with the final product, click the “Export Video” button on the top right.
It will take a few minutes for your video to render. Upon completion, you’ll see three icons above your final product. Each provides a different ratio option:
- Landscape
- Portrait
- Square
Select the size you need and click the blue “Download Video” button.

Your video is now ready to upload to the platform of your choice.
How to Turn Articles into Videos with Video Marketing Platform
Finally, let’s examine Video Marketing Platform.
Available from the Semrush App Center, Video Marketing Platform is a comprehensive video creation and editing tool. It not only generates video from text prompts or a URL, but also records and even livestreams. It’s a great option for teams looking for a single solution for all their video creation needs.
This app is available to test out with a free 7-day trial, or as a $27/month subscription.
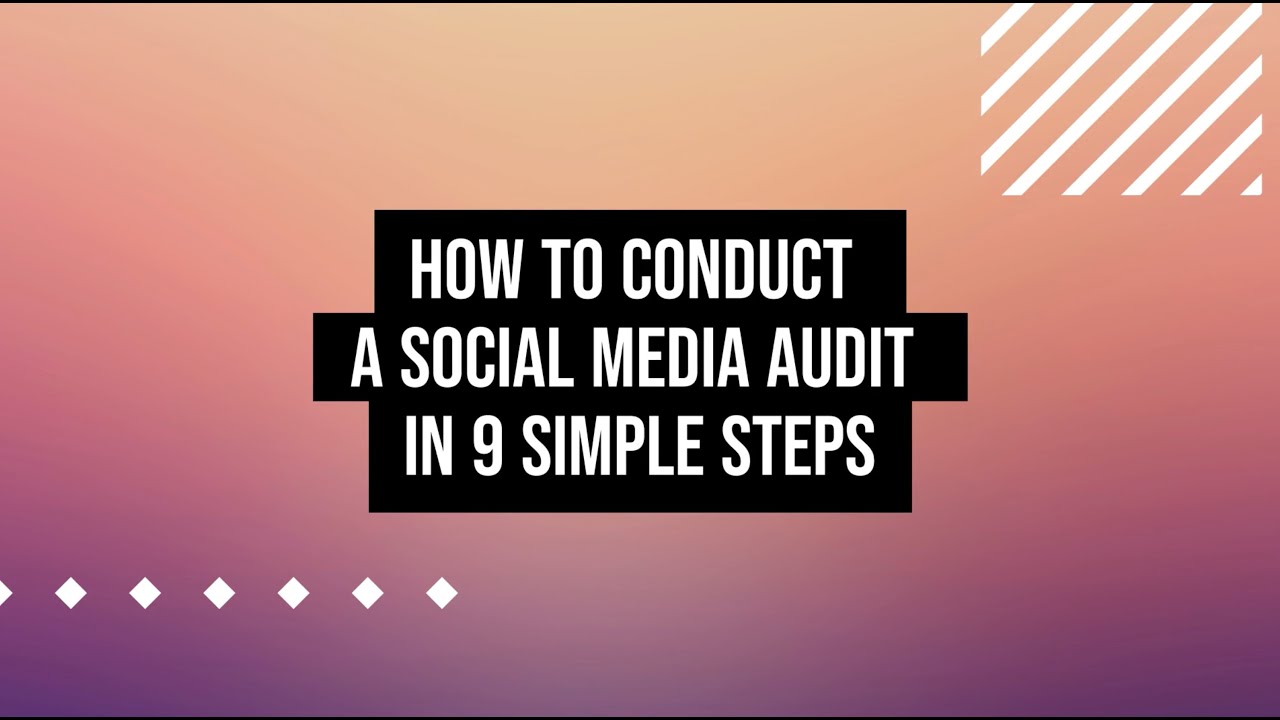
Let’s take a look at how the app took our blog “How to Conduct a Social Media Audit in 9 Simple Steps” and turned it into this video:
Step 1: Create Your Video
Open the app and click the “+ Create” button. From the pop-up, select “From Blog post” under “Generate video with AI.”

Another screen will pop up. Enter the URL for the article you want to repurpose. Choose your “Audio mood,” desired video length, and length of text. Then click “Next.”

Next you’ll be prompted to choose the format and style for your video. Once you’ve made your selections, click “Create video.”

Step 2: Edit Your Video
Video Marketing Platform offers multiple editing options. The simplest way to make a change to your video is to click directly on the text or image in a scene. A toolbar will pop up on the scene with editing options for each. You’ll also see editing options on the toolbar to the right.


The toolbar to the left of the screen also provides several editing options:
- Resize
- Templates
- Stocks & Uploads (for images and videos)
- Edit
- Layout
- Text
- Overlays & Stickers
- Watermarks
- Audio
- Captions
- Storyboard
- Enhancers
With the timeline at the bottom of the screen, you can edit the length of each scene and the length that each element appears in a scene.

Step 3: Publish Your Video
Once you’re finished editing your video, click the blue “Publish” button in the upper right corner. Choose “Video” from the pop-out menu.

In the next screen, choose your resolution, quality, and video format. Then click “Render.”

A new screen will pop up. Click “Go to video.”

On the next screen, click “Download video and audio” on the far bottom left, and then “original file” from the pop-out menu.

It will download as an .mp4 file.
See the Benefits of Repurposed Content for Yourself
Now that you’ve seen a few examples of how to turn articles into videos, see you what you can create by repurposing content from your own site.
You’ll see your content production efforts stretch further and your message expand its reach.
Visit the Semrush App Center to begin using AI Social Content Generator, Instant Video Generator, and Video Marketing Platform today.
Source link : Semrush.com