
In my recent blog, Efficiency Redefined: How Oracle Cloud EPM Pipelines Can Streamline Your Business Process, I discussed how Perficient implemented a single streamlined process to organize the daily data load and processing jobs of one of our clients. Now, let’s review editing an existing Pipeline to add a new job, how to execute the Pipeline, and review the log file.
Editing a Pipeline to Add a New Variable
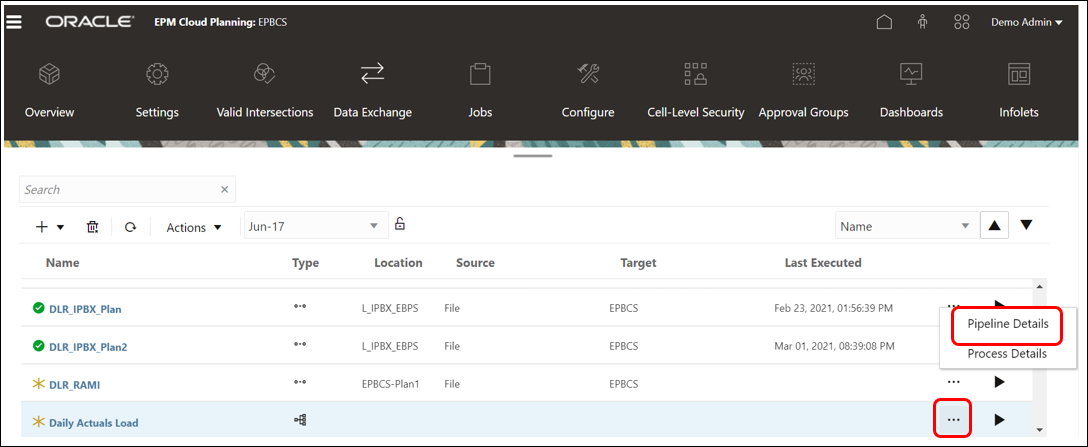
- From the Data Integration home page under Data Exchange, click
 to the right of the Pipeline you want to edit, and then select ‘Pipeline Details‘.
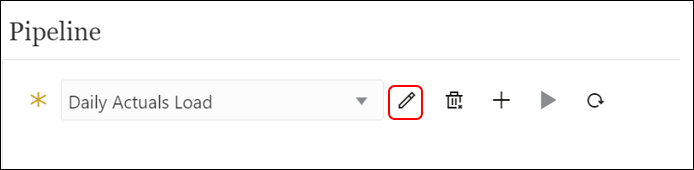
- Click the
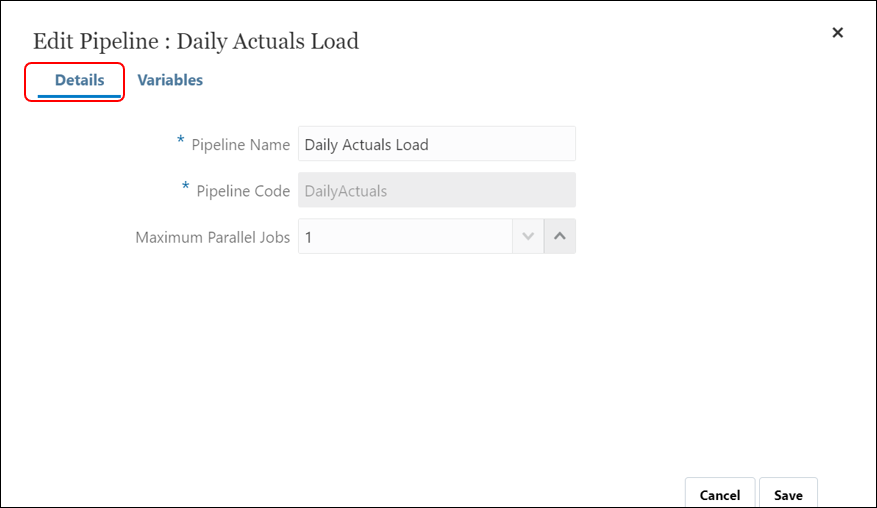
 icon and ‘Details’tab to edit the Pipeline details like name and number of parallel jobs.
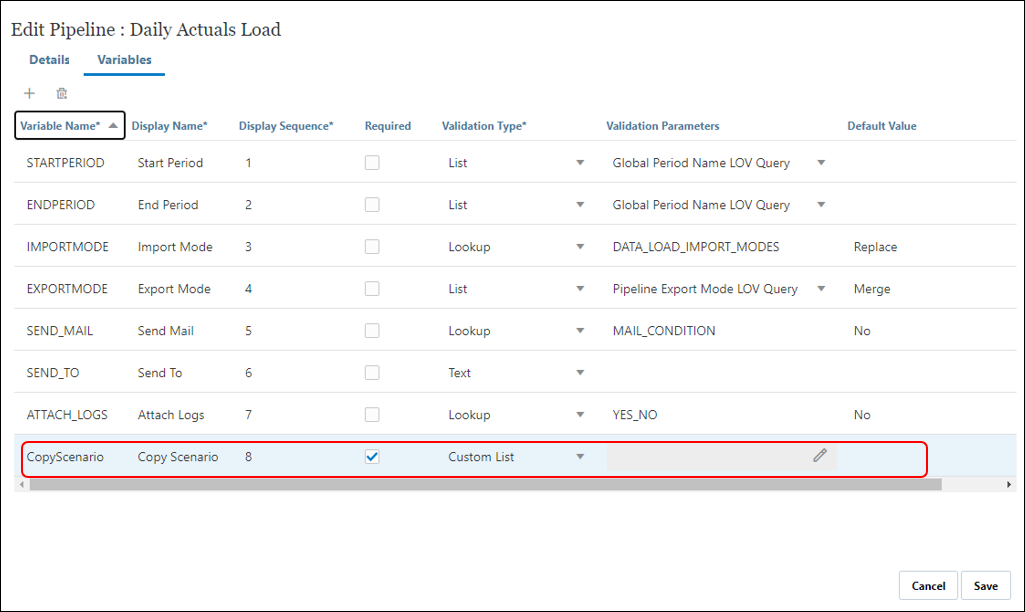
- Click ‘Variables‘ tab to add/update/delete Variables.
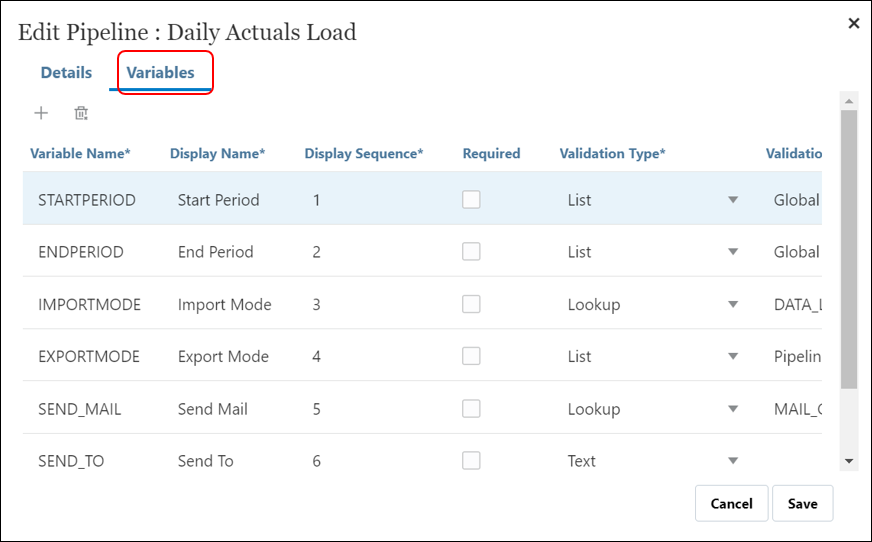
- Click
 to add a new variable. A new row is added to the bottom of the page. Enter the following details:
-
- Variable name: CopyScenario
- Display Name: Copy Scenario
- Display Sequence: 8
- Required: Yes
- Validation Type: Custom List
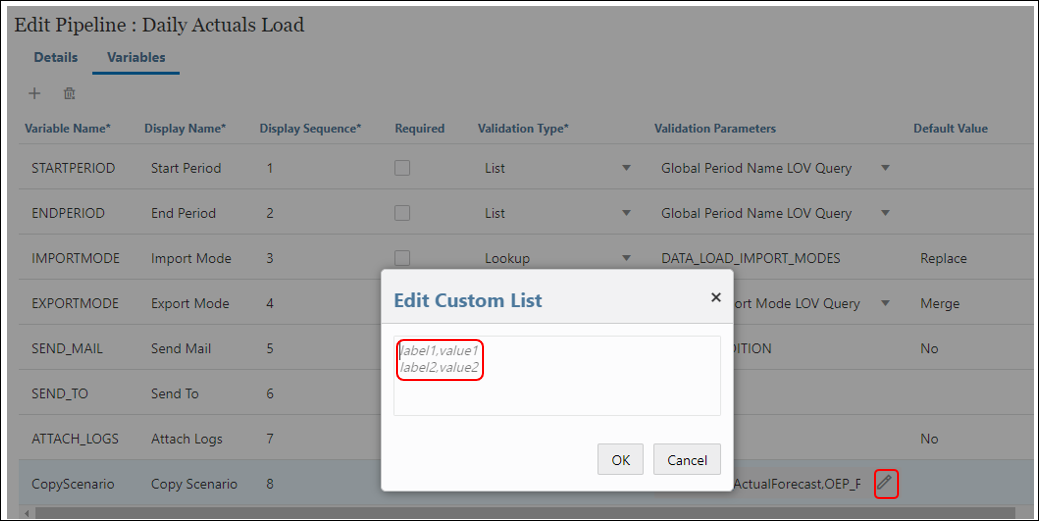
- To add custom values to be available for selection during run time for this variable, click the icon. Enter the list values in the below format.

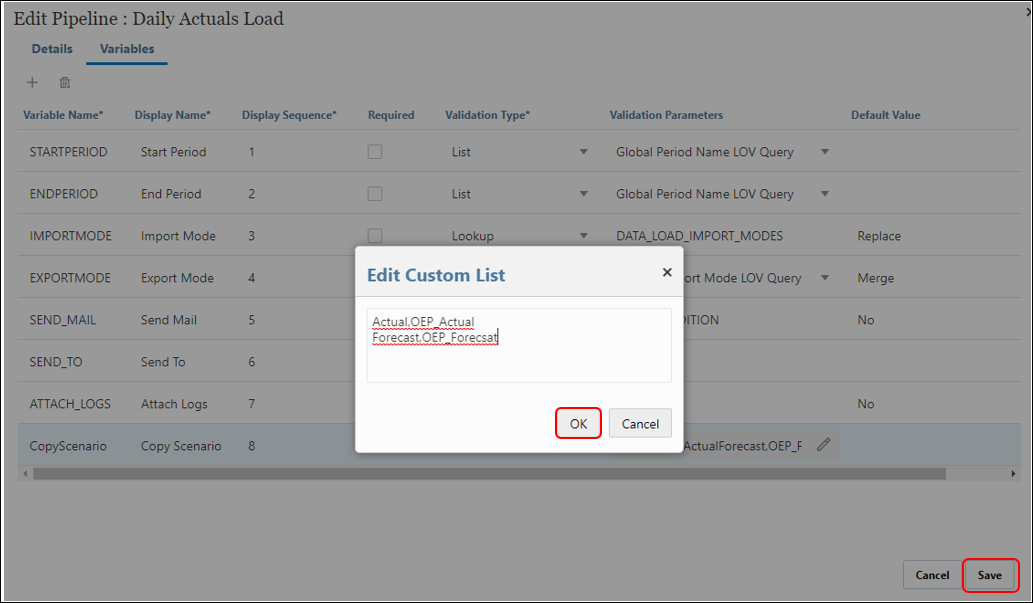
- Below is the available values we want for the CopyScenario variable during run time. Click ‘OK‘. Click ‘Save‘.
Editing a Pipeline to Add a New Job
- On the Pipeline page, expand the stage to which you want to add a new job.

- Click the add job icon.
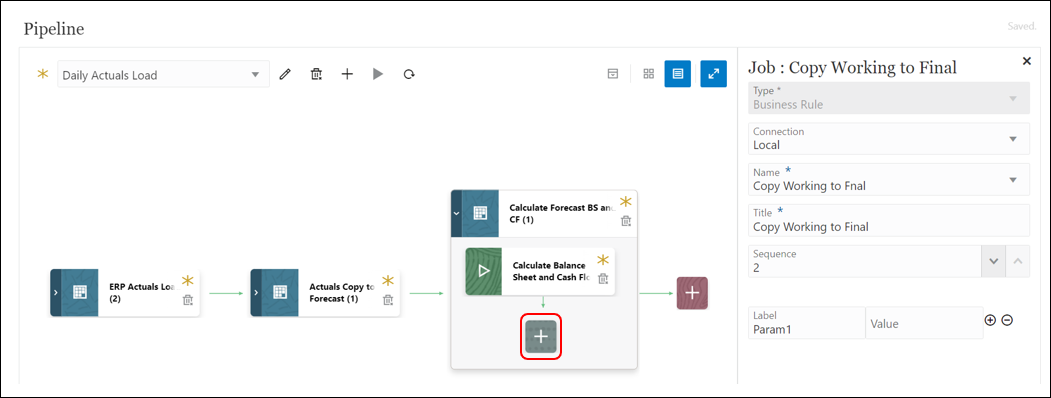
- To add a new job to run the data copy rule, select the below:
-
- Type: Business Rule
- Connection: Local
- Name (Select the business rule to launch in this job): Copy Working to Final
- Title (Name of the job): Copy Working to Final
- Sequence: 2
- Label (runtime prompt as it is defined in the selected business rule): Not Applicable
- Value (custom value type for a runtime prompt, specify the actual value): Not Applicable
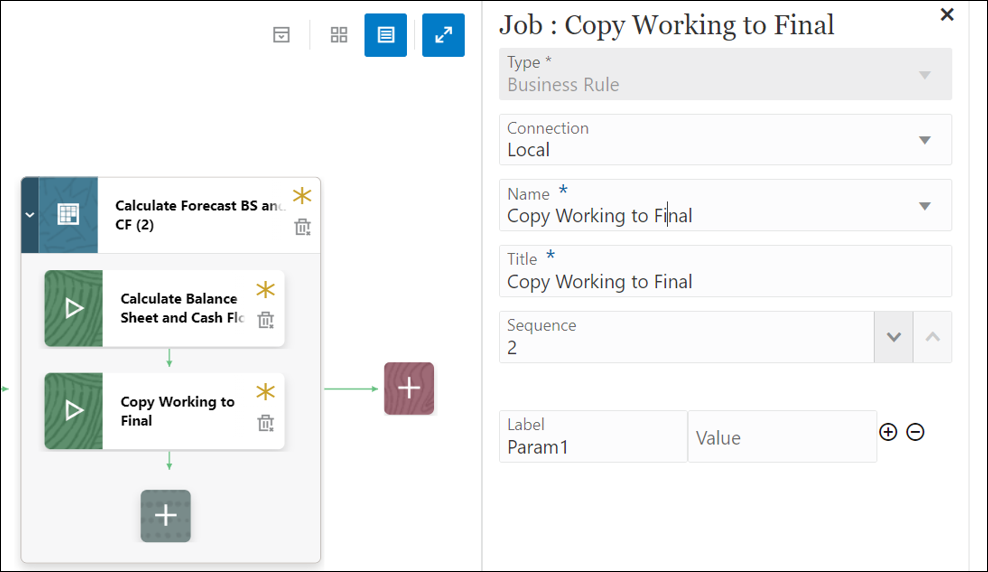
- The new job is auto-saved to the Pipeline.
Running a Pipeline
- You can open the Pipeline and Click
 to run the Pipeline.
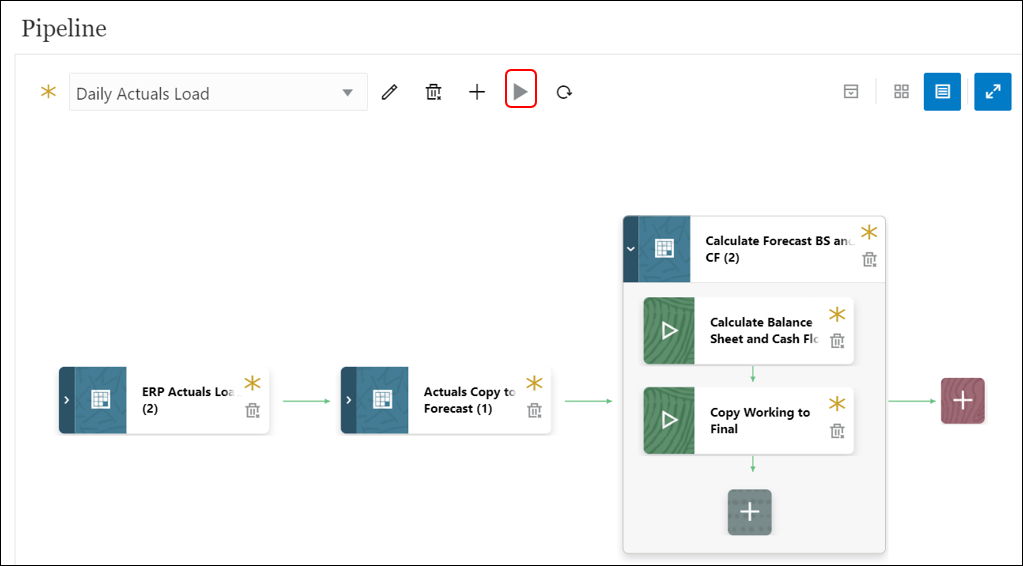
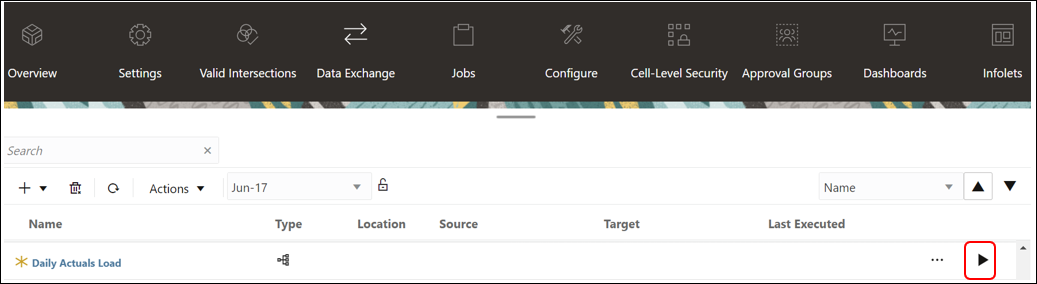
- Or you can run it on the Data Integrations page.
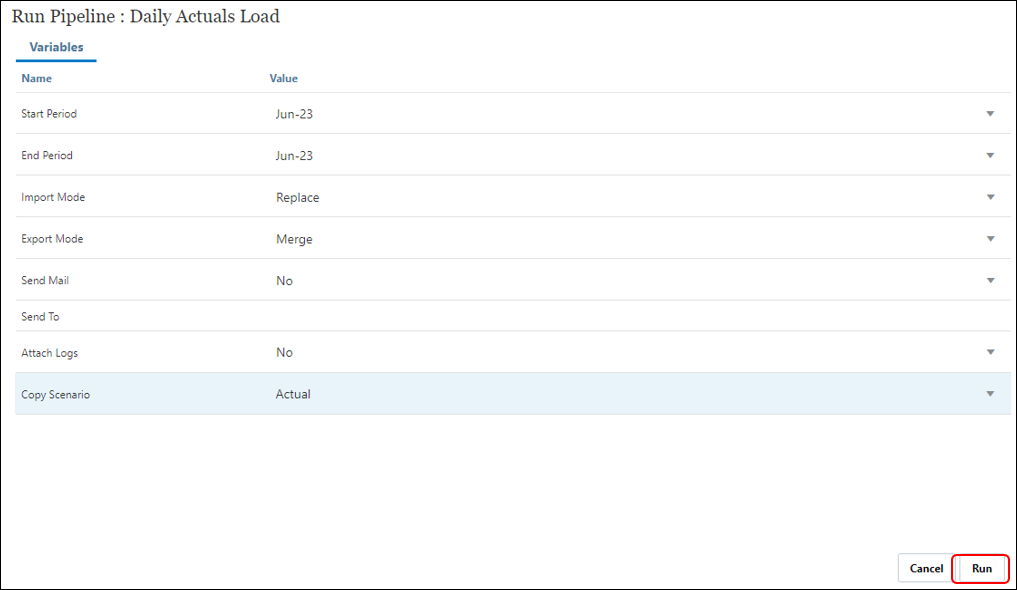
- On the Run Pipeline page, complete any runtime prompts and then click ‘Run‘.
- When the Pipeline is running, the system shows the status as
 . You can click the status icon to download the log.
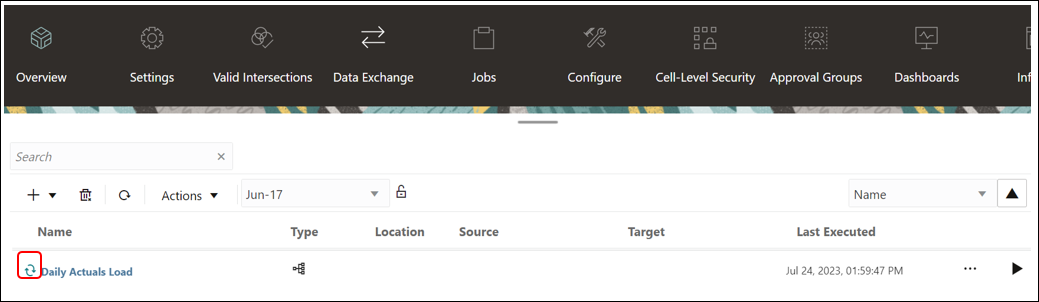
- When a job has been successfully executed,
 a checkmark appears in the job card.
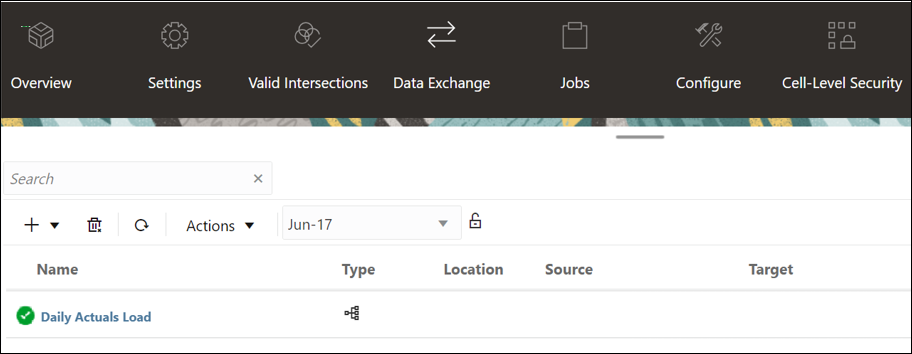
- You can see the status of the Pipeline in Process Details. You can click on the
 icon to download the log files for each job.
With the above detailed steps, Perficient was able to convert a manual and time-consuming data load process into a streamlined Pipeline that can be executed end to end with a single click. Mastering the process of editing and running EPM Pipelines can be crucial to your organization achieving efficiency and streamlined data management, thus harnessing the full potential of Oracle EPM Cloud for your business endeavors.